This kitchen project is not strictly speaking a mosaic, but it does show how you can incorporate mosaic elements in a larger project - for instance if you don't have the time (or experience) to do a full scale large mosaic backsplash.
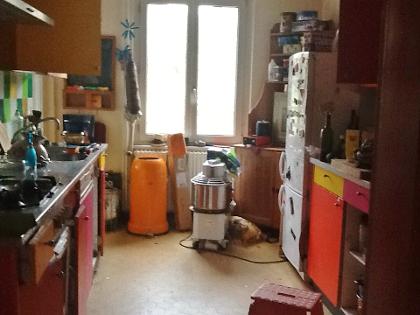
This is our kitchen as it was before we started, with all our stuff in it. Lots of colour, which is great, but most of the appliances date back to the 70s, and there really isn't much storage or work space.
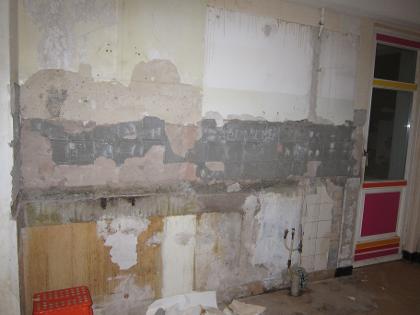
Did you ever wonder what's behind a fitted kitchen? In our case it was this...
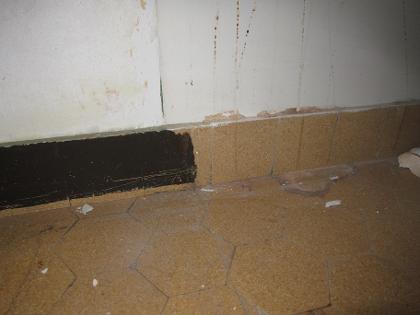
People keep telling me they're ugly, but I love the old tiles on the floor of our kitchen! They must date back to the 1930s... When we bought the house, they were covered up with about 5 layers of ugly Linoleum... and now I discovered that they painted over the ones on the side. That paint is going to come off!
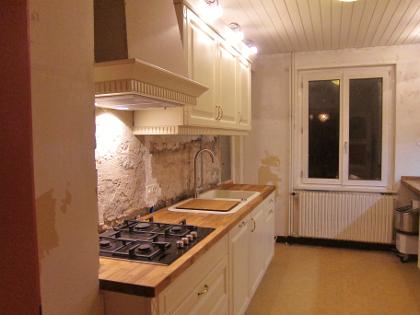
The walls still need smoothing and we have to put all our stuff away, but the kitchen part is finished in this pic.
This is where my part starts!
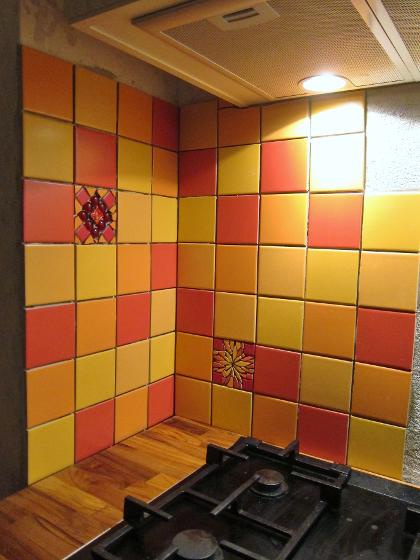
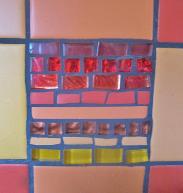
I began on the corner round the stove - so that I'd be able to start cooking again as soon as possible! Four shades of tiles for the main areas, with glass nuggets and several smaller selections of small tiles for mosaic insets - the idea was to get it done fairly fast, but still include an element of mosaic fun.
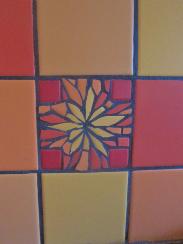
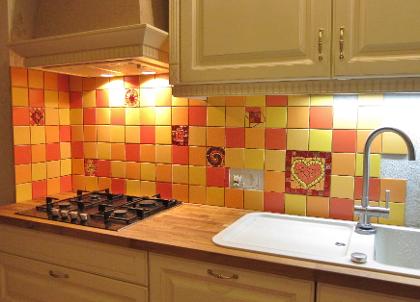
Moving along I started to include more and larger insets - since these areas will not need to be cleaned as often.
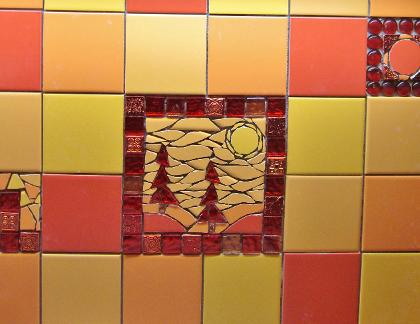
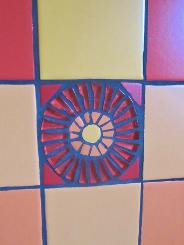
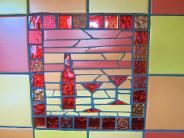
This inset here took about as much time as all the rest put together - orthat's what it felt like! :)
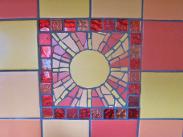
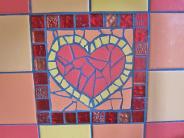
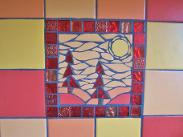
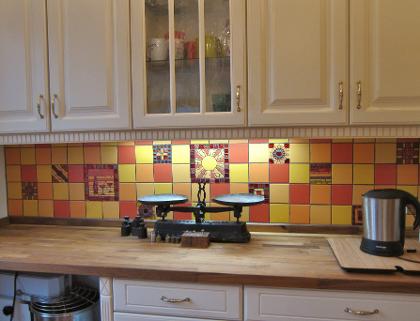
Work on the second side of the kitchen. Each inset is different - it was fun to see how many different designs I could come up with.
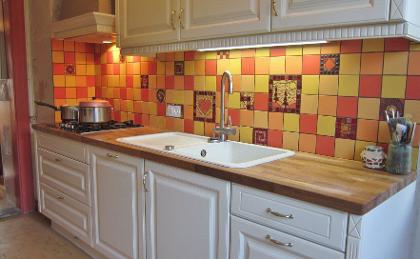
This is the first side of the kitchen with the backsplash grouted (in dark gray), polished, sealed and totally finished!
And the same for the other side...
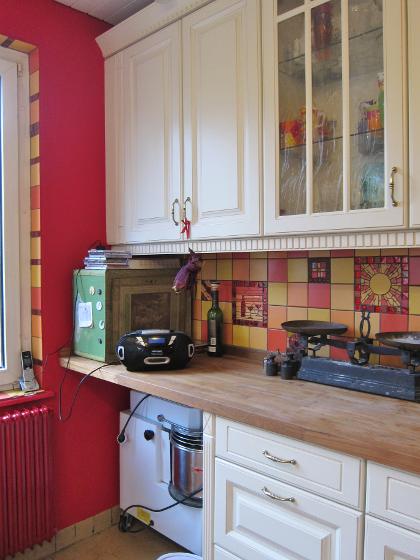
The final touches: I tiled round the inside of the window frame, and then we had the walls painted red.
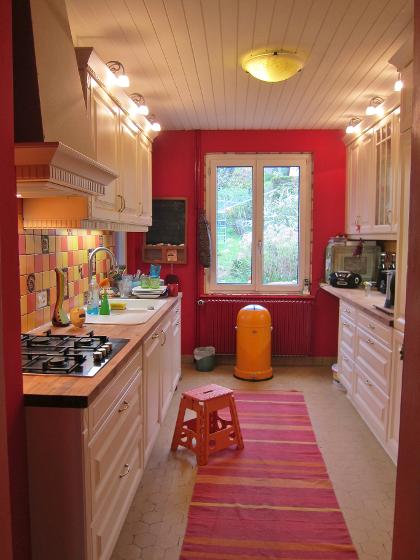
And at last it is finished! Its quite a change from the first picture, isn't it?