Building a mosaic chair is an advanced project which I would not recommend for the mosaics beginner. This tutorial will not be able show you every step of the way and its certainly not a subsitute for reading books, taking lessons and/or gaining your own experience. It will however show you how I built my chair and point you in the direction of more information if you decide to build one. That said, if you do have some experience, building a mosaic chair is not so very difficult either - and it is enormous fun to do!
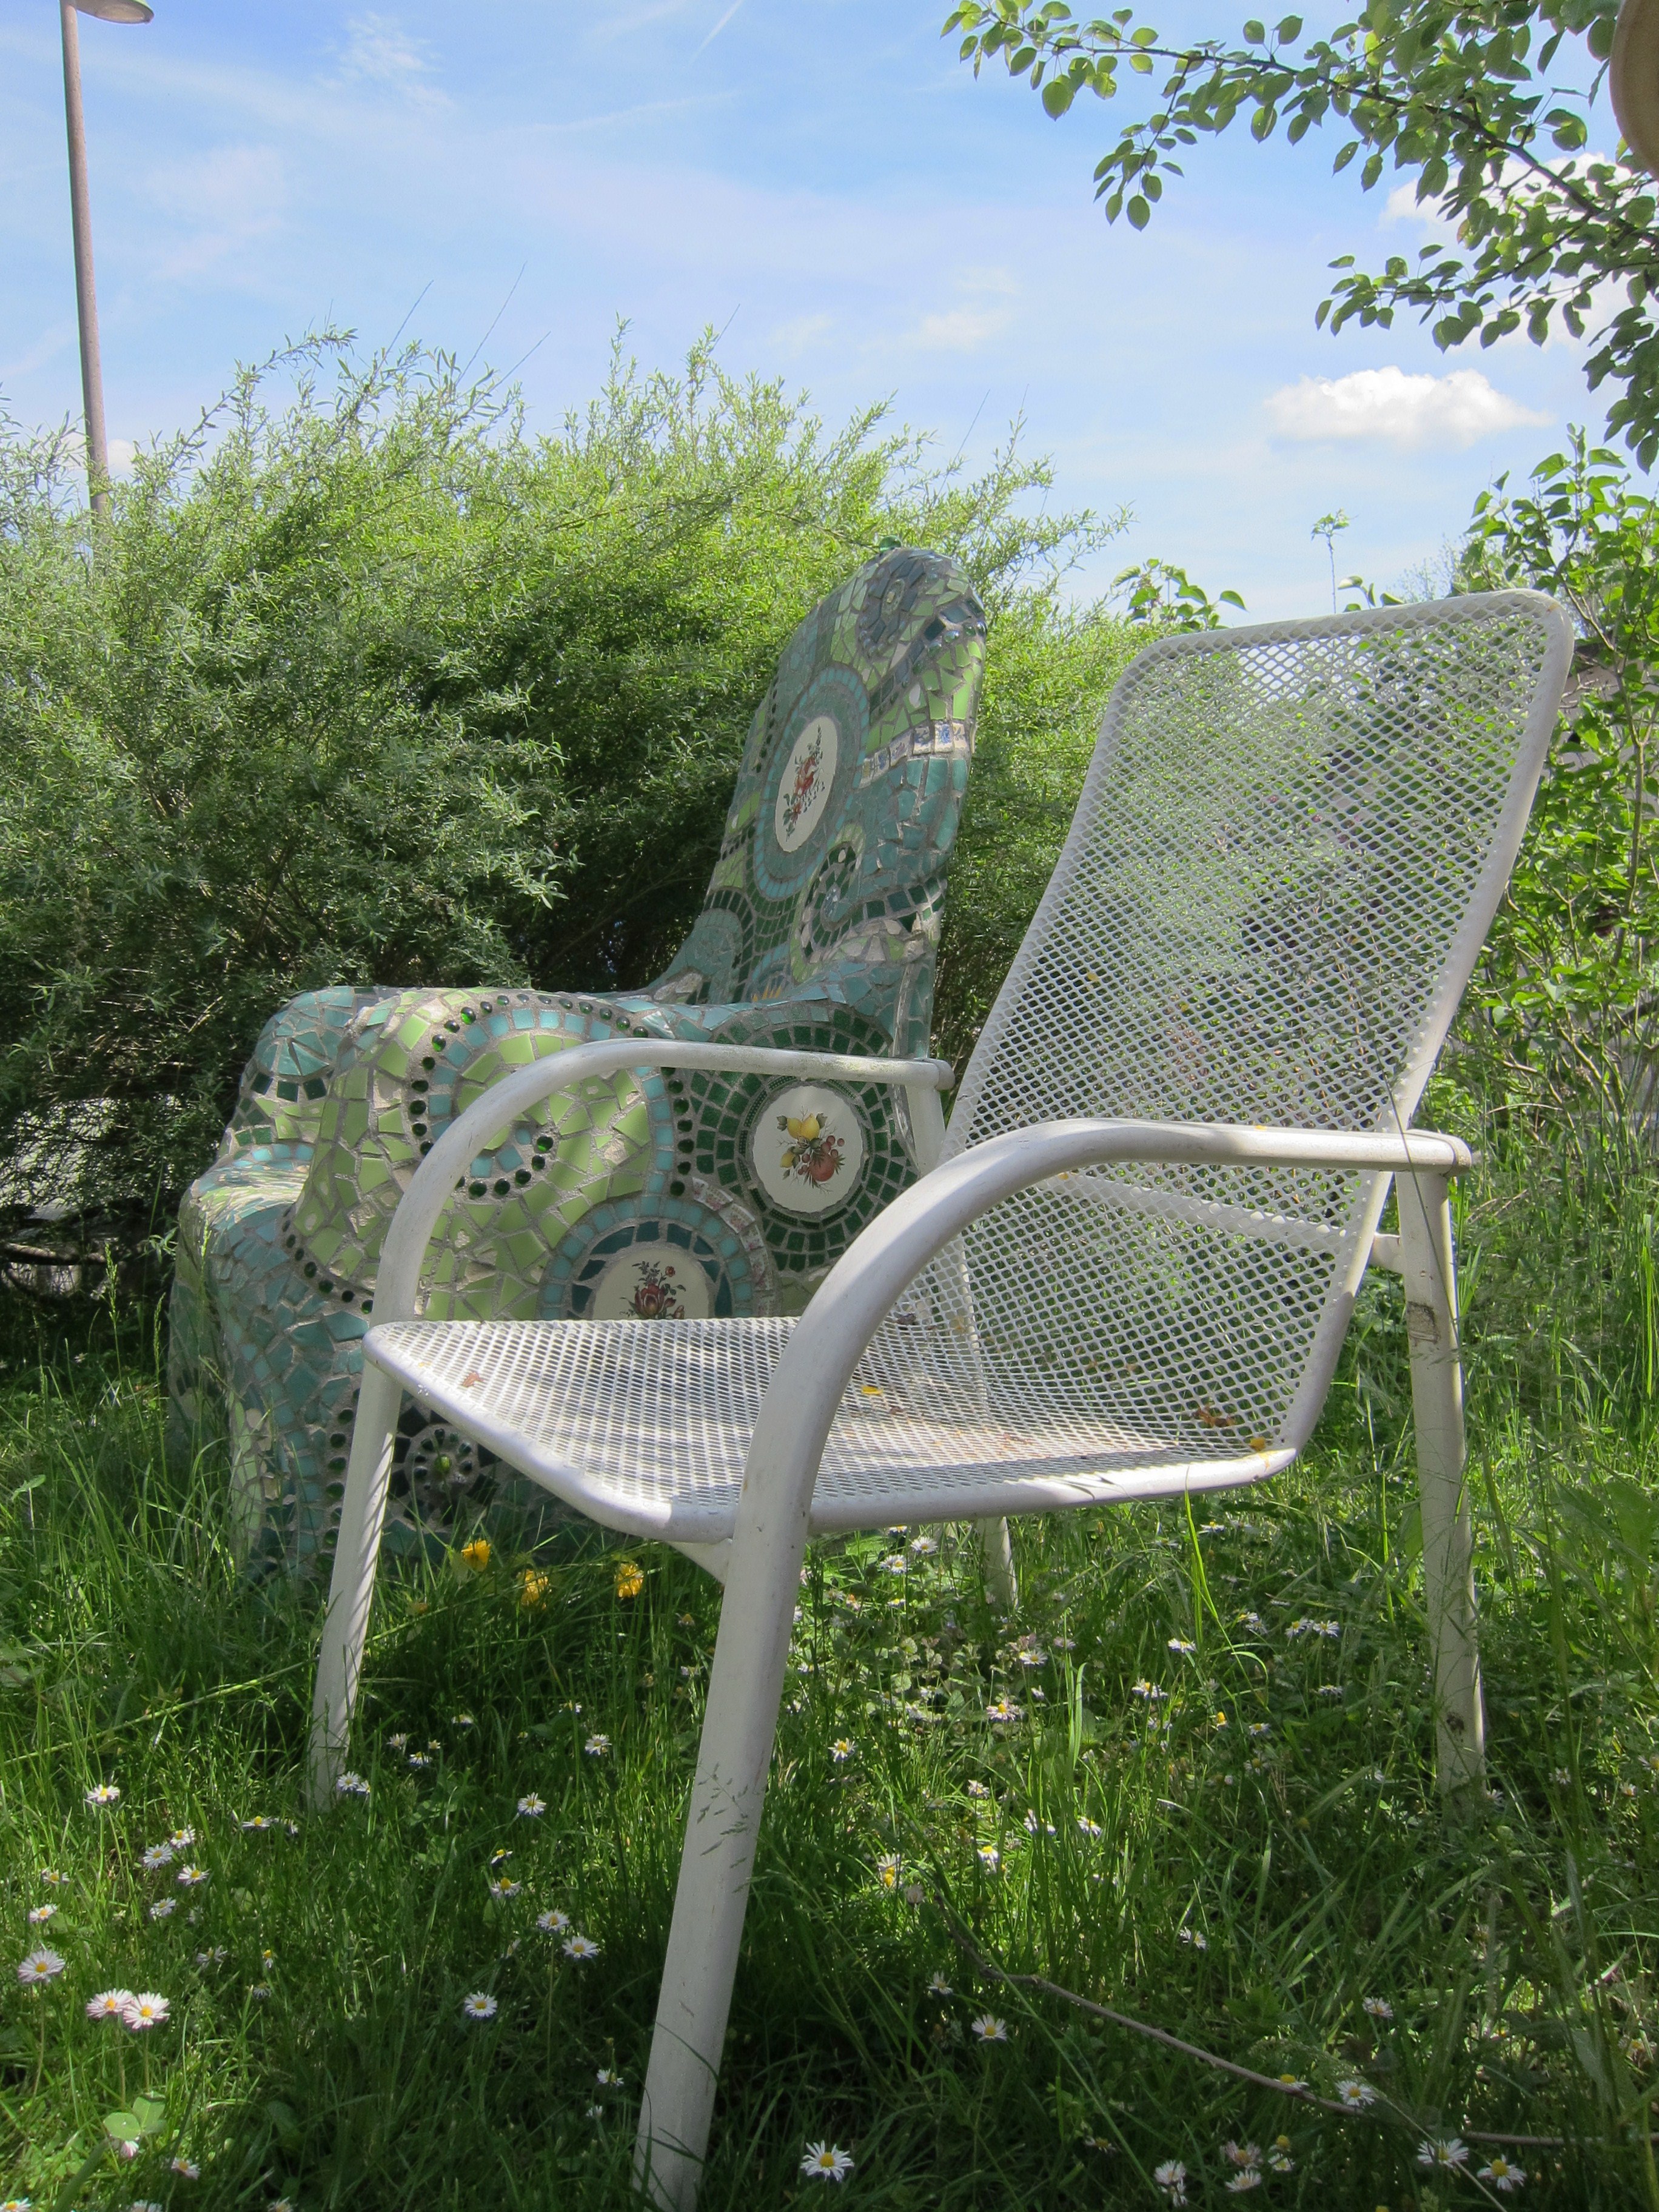
The base for this mosaic is a sturdy metal garden chair. If your chair has armrests like this one, make sure they're wide enough apart so that you'll still be able to sit down once the chair is covered with several cm of concrete and mosaics.
Before you begin on your chair, you need to build a foundaition for it. One day I'll try making a lighter more mobile one with wheels on, but this one was built in palce and must weigh at least 800 kg - you can't just perch that kind of weight on the grass! So construct a foundaition with proper drainage and a strong surface to carry the weight.
Next, reinforce all the exposed edges of the chair with rebar. I changed the shape of the back of the chair here, making it higher and more rounded - that edge needs to be reinforced. So do all the lower edges between the chair legs. Larger surfaces, such as the sides of the chair should also be reinforced with a cross of rebar. When you're finished, the rebar and the chair should form a solid and sturdy unit.
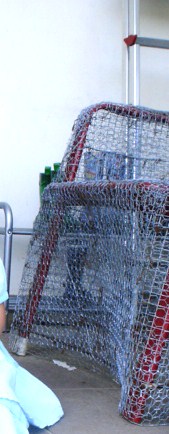
Then cover the whole chair with at least four or five layers of chicken wire. Cut the chicken wire into manageable shapes rather than wrapping it over the chair whole - you need to get the layers to follow the shape of the chair as closely as possible. Attach the wire to the chair, to the rebar and to itself, so that when you're finished it again feels like one unit.
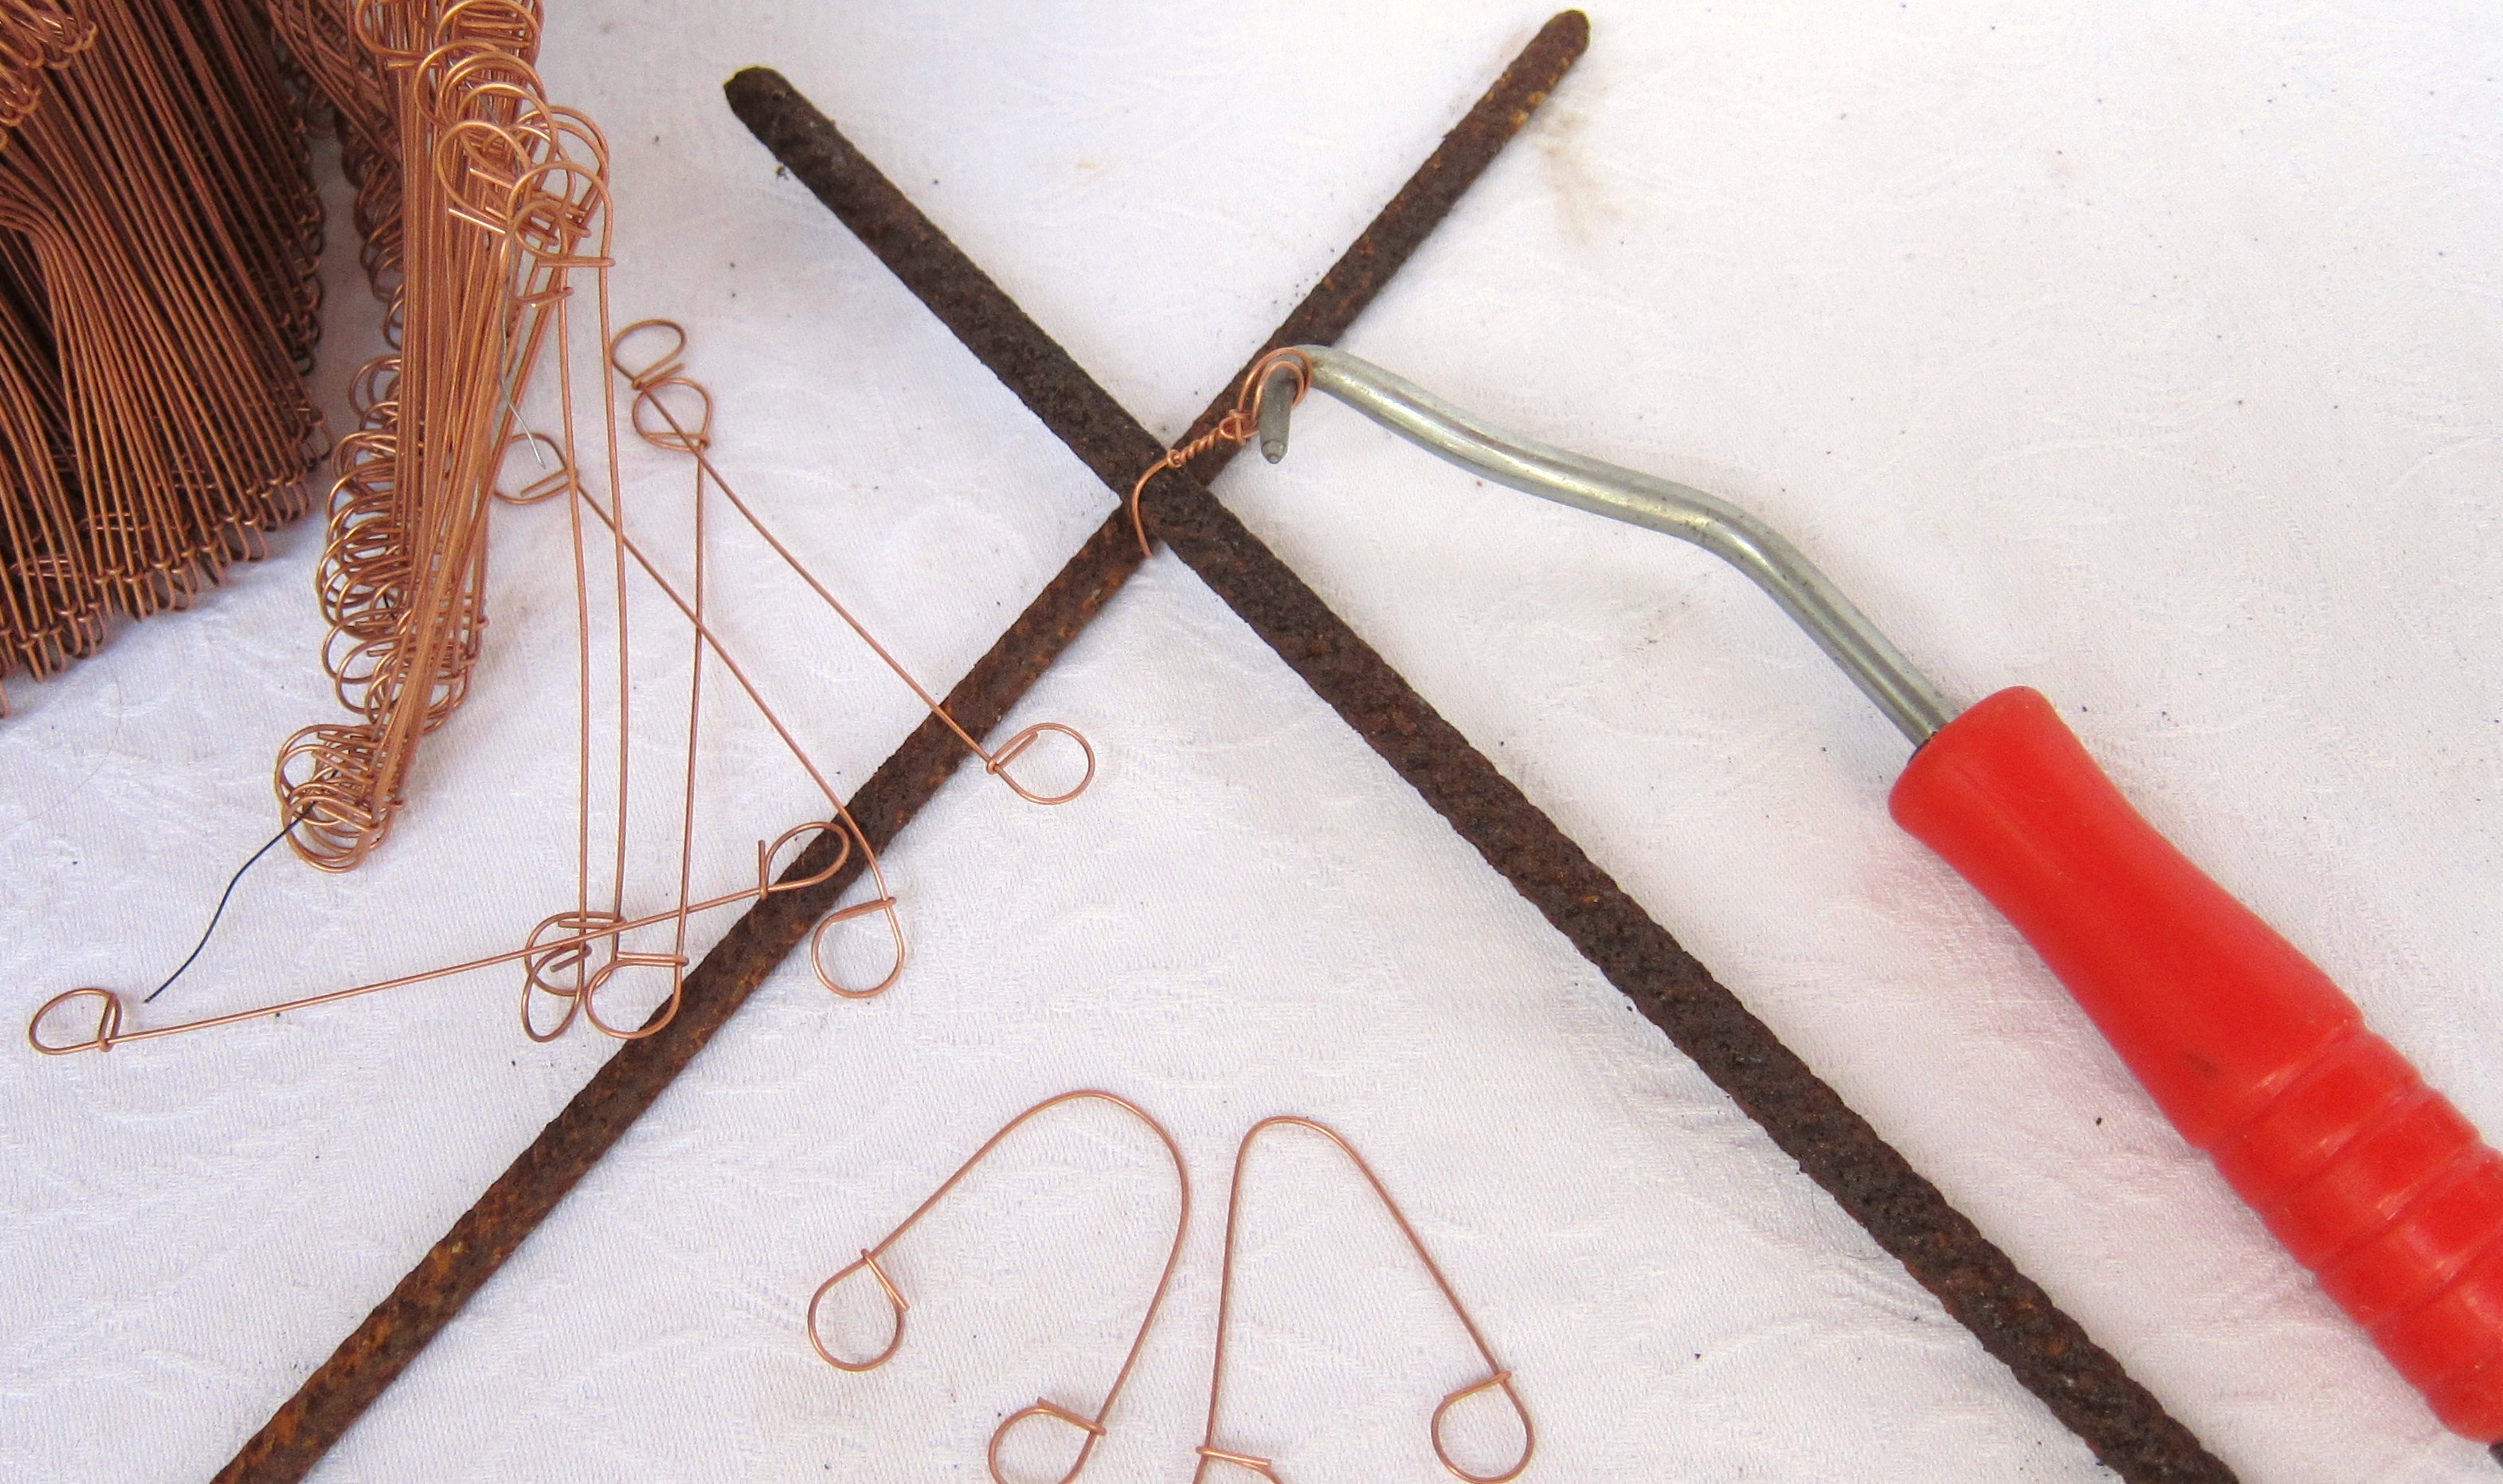
And this is how I attached the rebar and chicken wire. These are short lengths of copper wire with small loops at each end. You bend the wire over and round whatever you want to attach, insert the point of the orange tool into both loops, and then twist them together until the wire is pulled tight.
Obviously soldering all the metal bits together would be easier, stronger and more elegant - but if you're like me and don't work metal, this method works perfectly well.
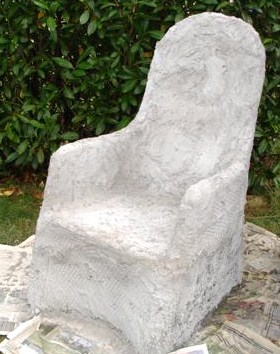
Now cover the whole chair with concrete. Lots of concrete. Smush the first layer of concrete right into the layers of chicken wire and support it from the other side with your hand to prevent too much from falling through. Smaller areas, such as the back of the chair and the armrests, can be filled with newspaper to keep the concrete in place. Continue to add layers of concrete until the wire, the rebar and the original chair are all firmly embedded in concrete, and you have an additional thickness of at least 1 cm all over the outer surfaces. This is where you'll be applying the mosaics, so make sure the surface is even and flat.
Making this concrete base strong and solid is probably the most important step in the whole project. If you don't have experience in working with concrete, I can highly recommend the book "Creative Concrete Ornaments for the Garden" by Sherry Warner Hunter. She tells you exactly how to cure your concrete and how to ensure that the different layers form a strong whole (because chances are you won't be applying several 100 klios of concrete all in one sitting).
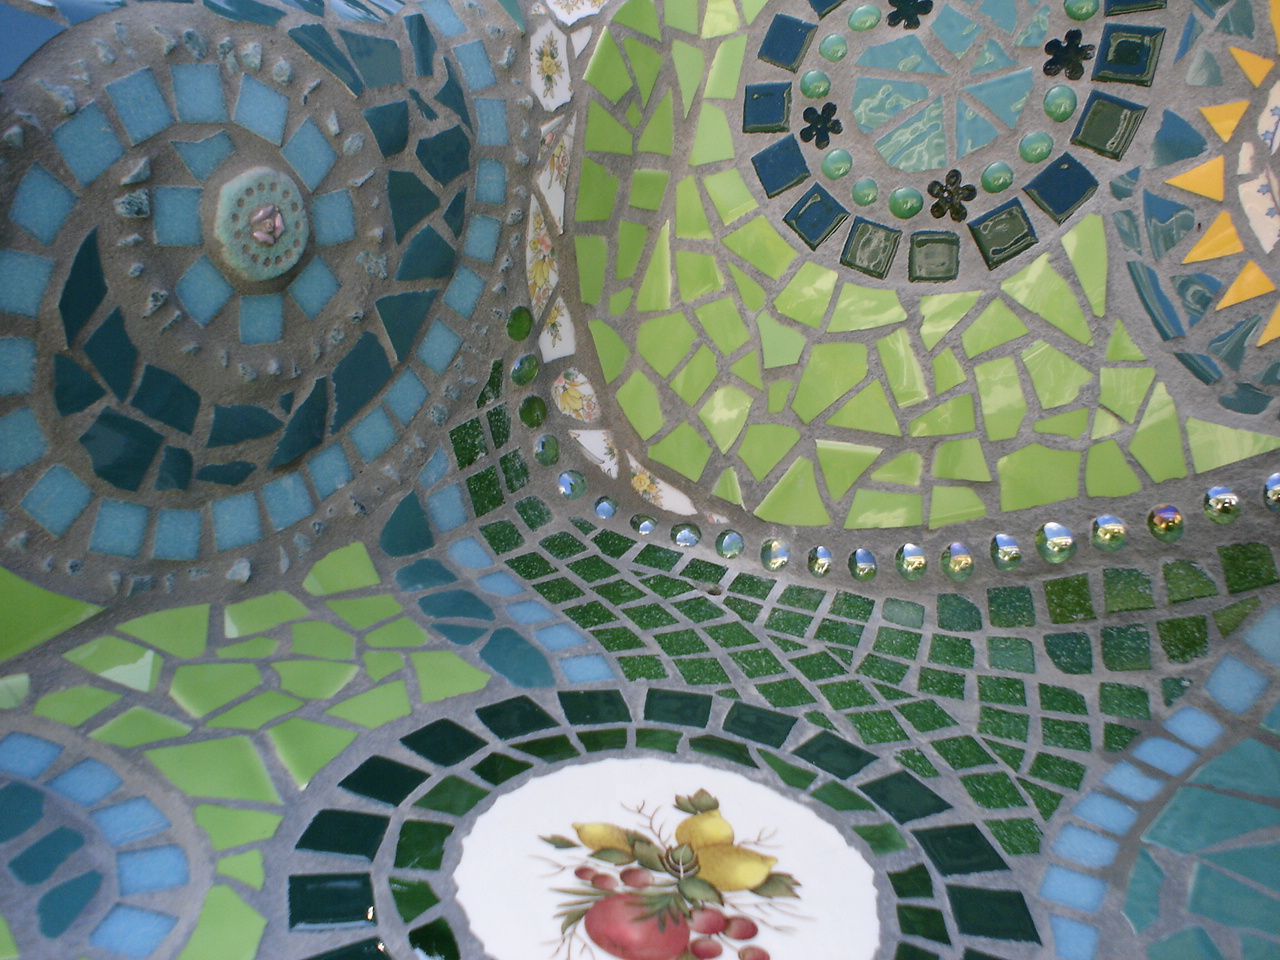
And now, mosaics... Let the fun begin! Stick stuff to your chair! Shards, glass, pottery, tiles, marbles, nuggets, whtever you can find. BUT - and this is some do-as-I-say and don't-do-as-I-did advice - make sure its frost proof! Really. Specially if you live somewhere with cold Winters.
For outside mosaics I recomend a cement-based adesive. Basically, anything that will work for an outdoor swimming pool will work for an outdoor mosaic, so read the labels and choose something that is produced for applying swimming pool tiles.

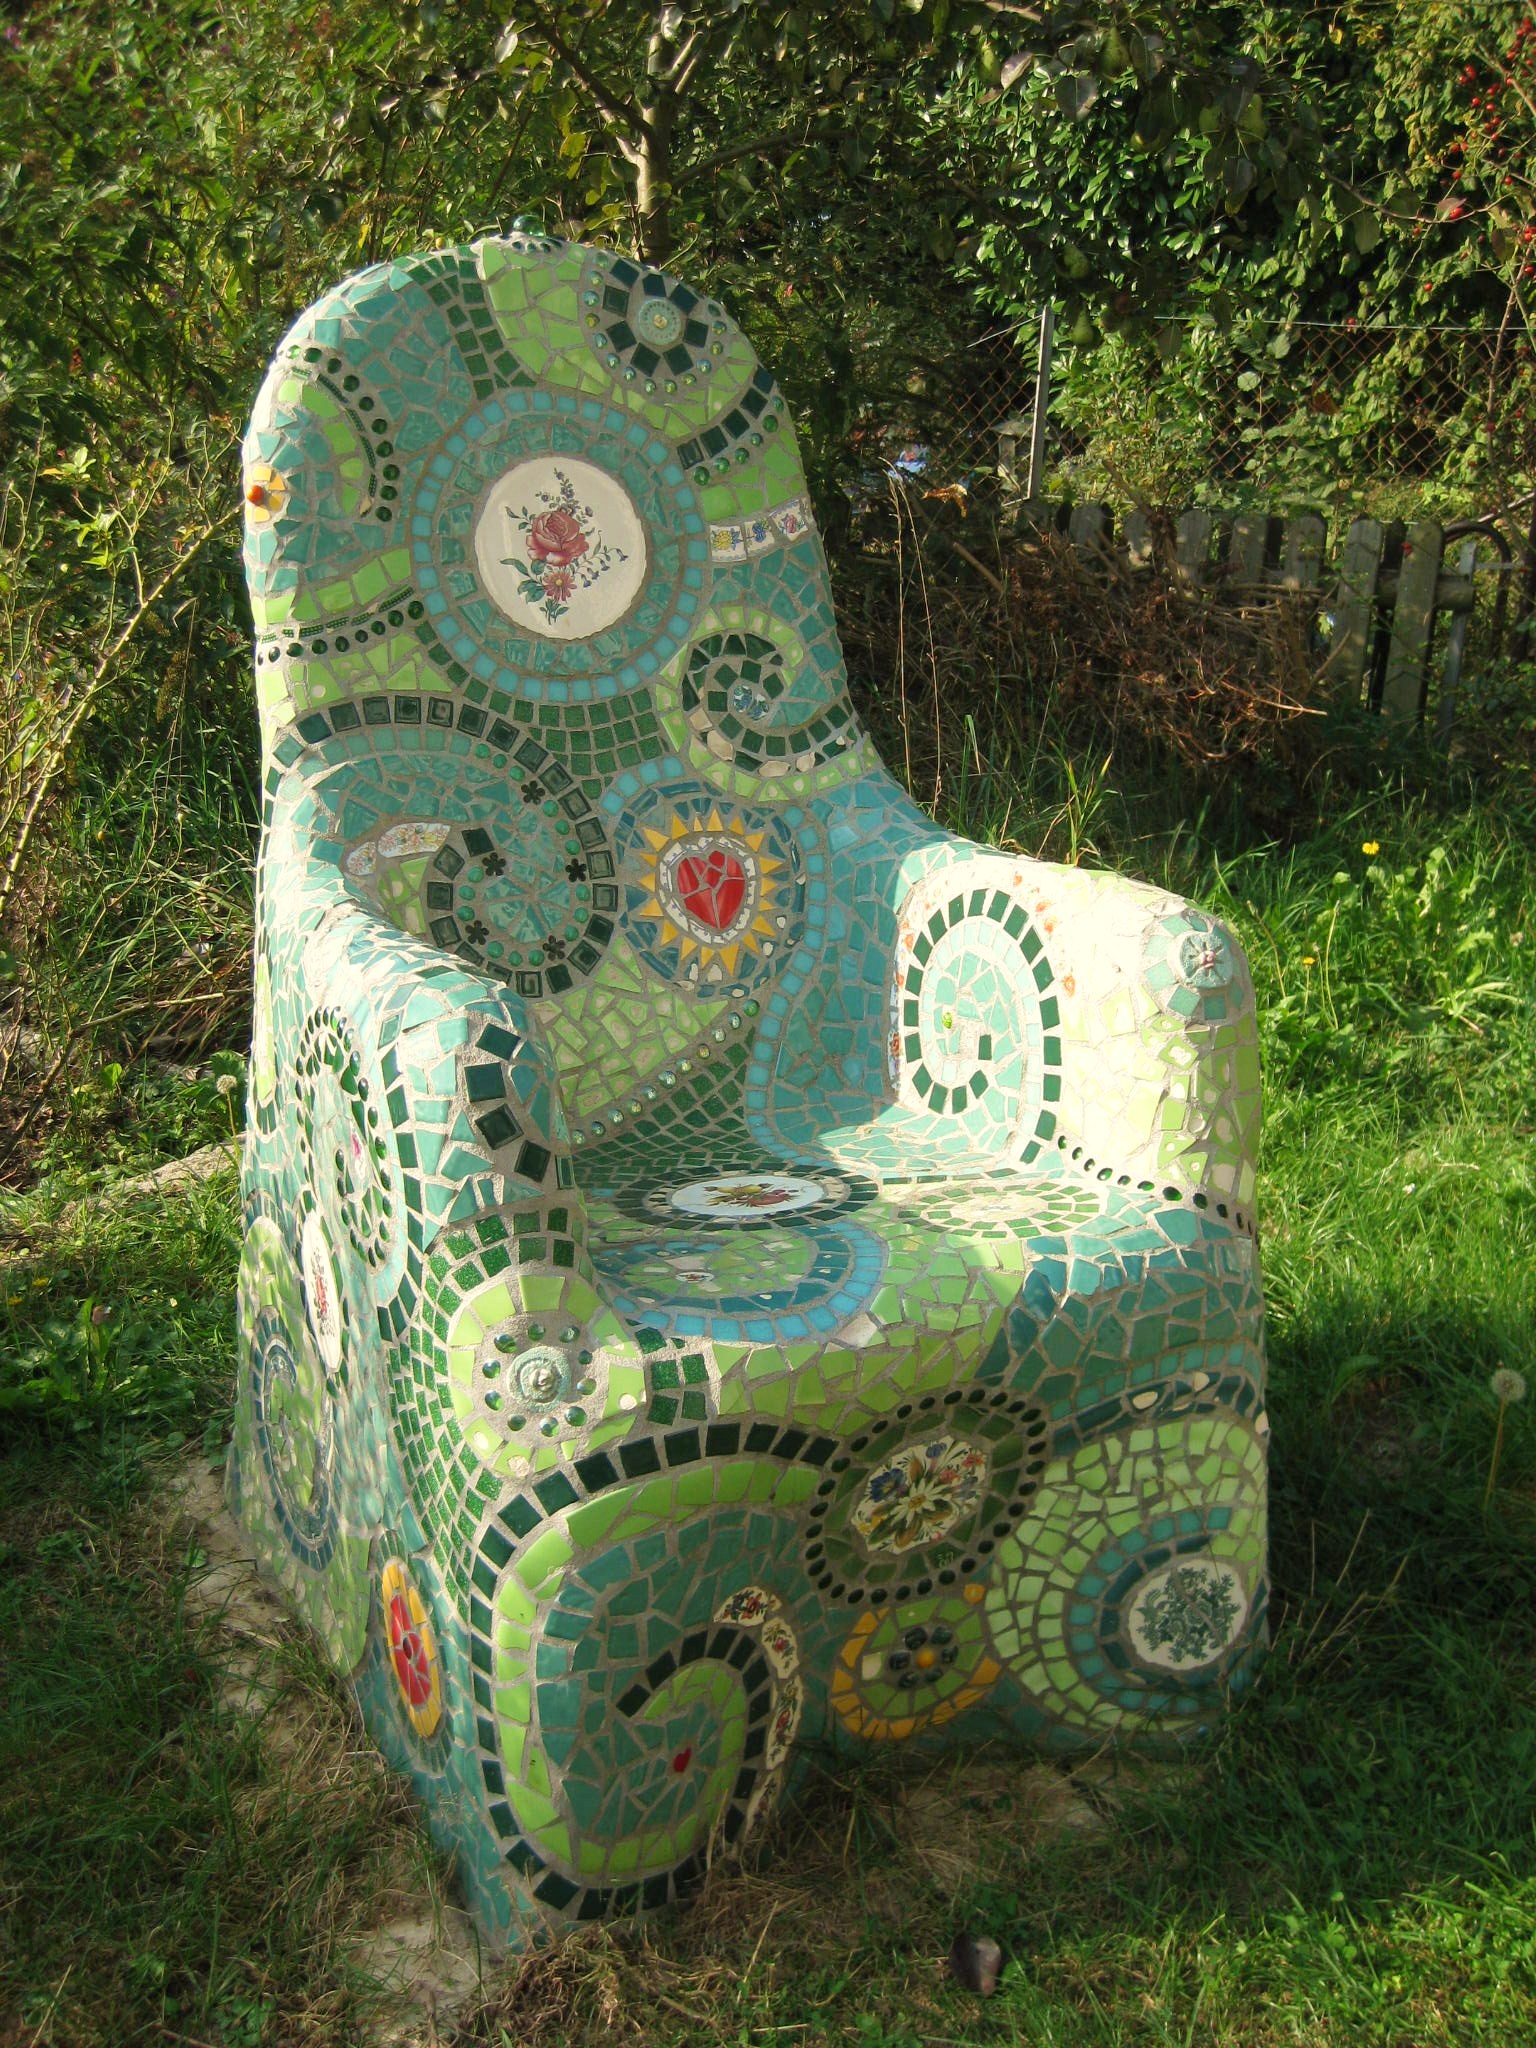
The final step: Grouting. The same goes here, choose a product designed for outdoors which can take the climate conditions your chair will have to face. I don't like using sealants on my mosaics, but if you want to and know of a good sealant there's no reason against applying it.
And then, when your chair is grouted and polished and beautiful... sit back in it, take a moment to enjoy the sunlight, close your eyes... and start dreaming about your next mosaic project.