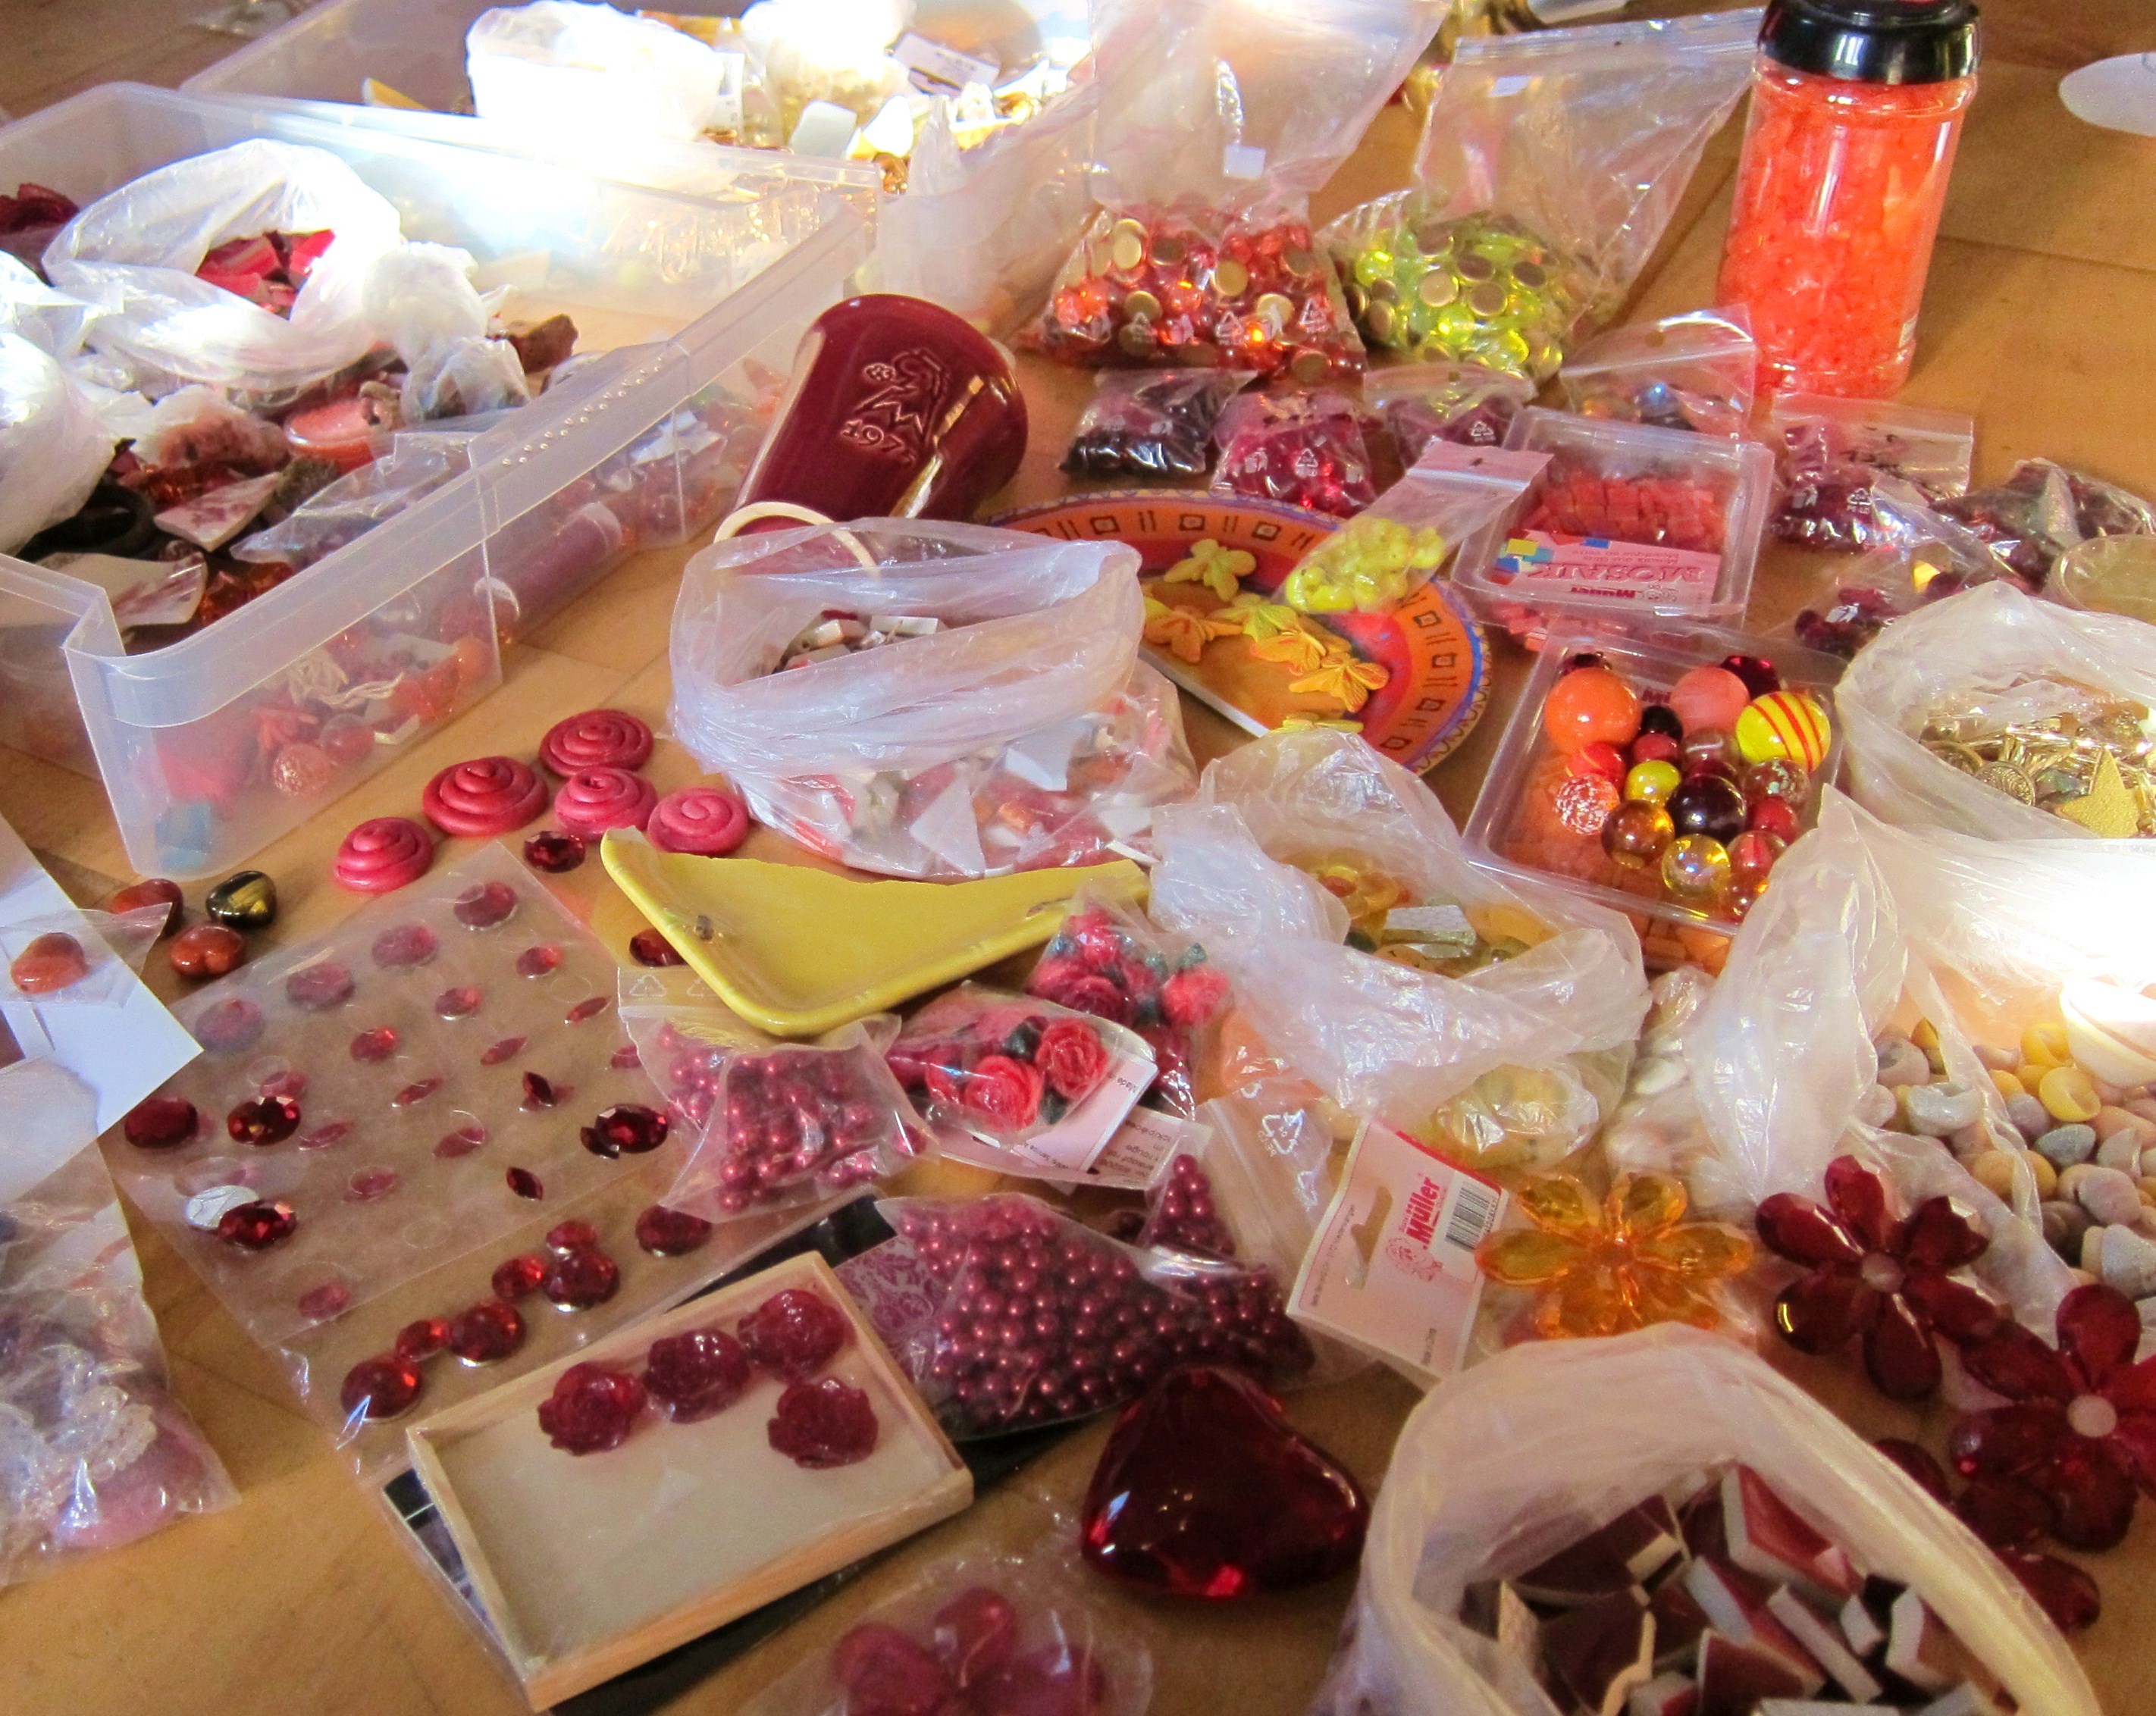
The very first and maybe most important step for making one of these ungrouted mosaics is collecting the materials. I plan about as much time for collecting materials as for making the entire mosaic. The tess can be basically whatever you want: marbles, beads, shards, bits of glass, small figurines, buttons, shells, coral, all kinds of stones and pebbles, jewelry, crystals, charms, screws, fimo items, nails and other hardware... use your imagination, keep your eyes open, you can find tess anywhere! I like to store them according to colour, but that's just me, you could also work according to texture or size. One tip: you will always need more than you think to cover any given surface!
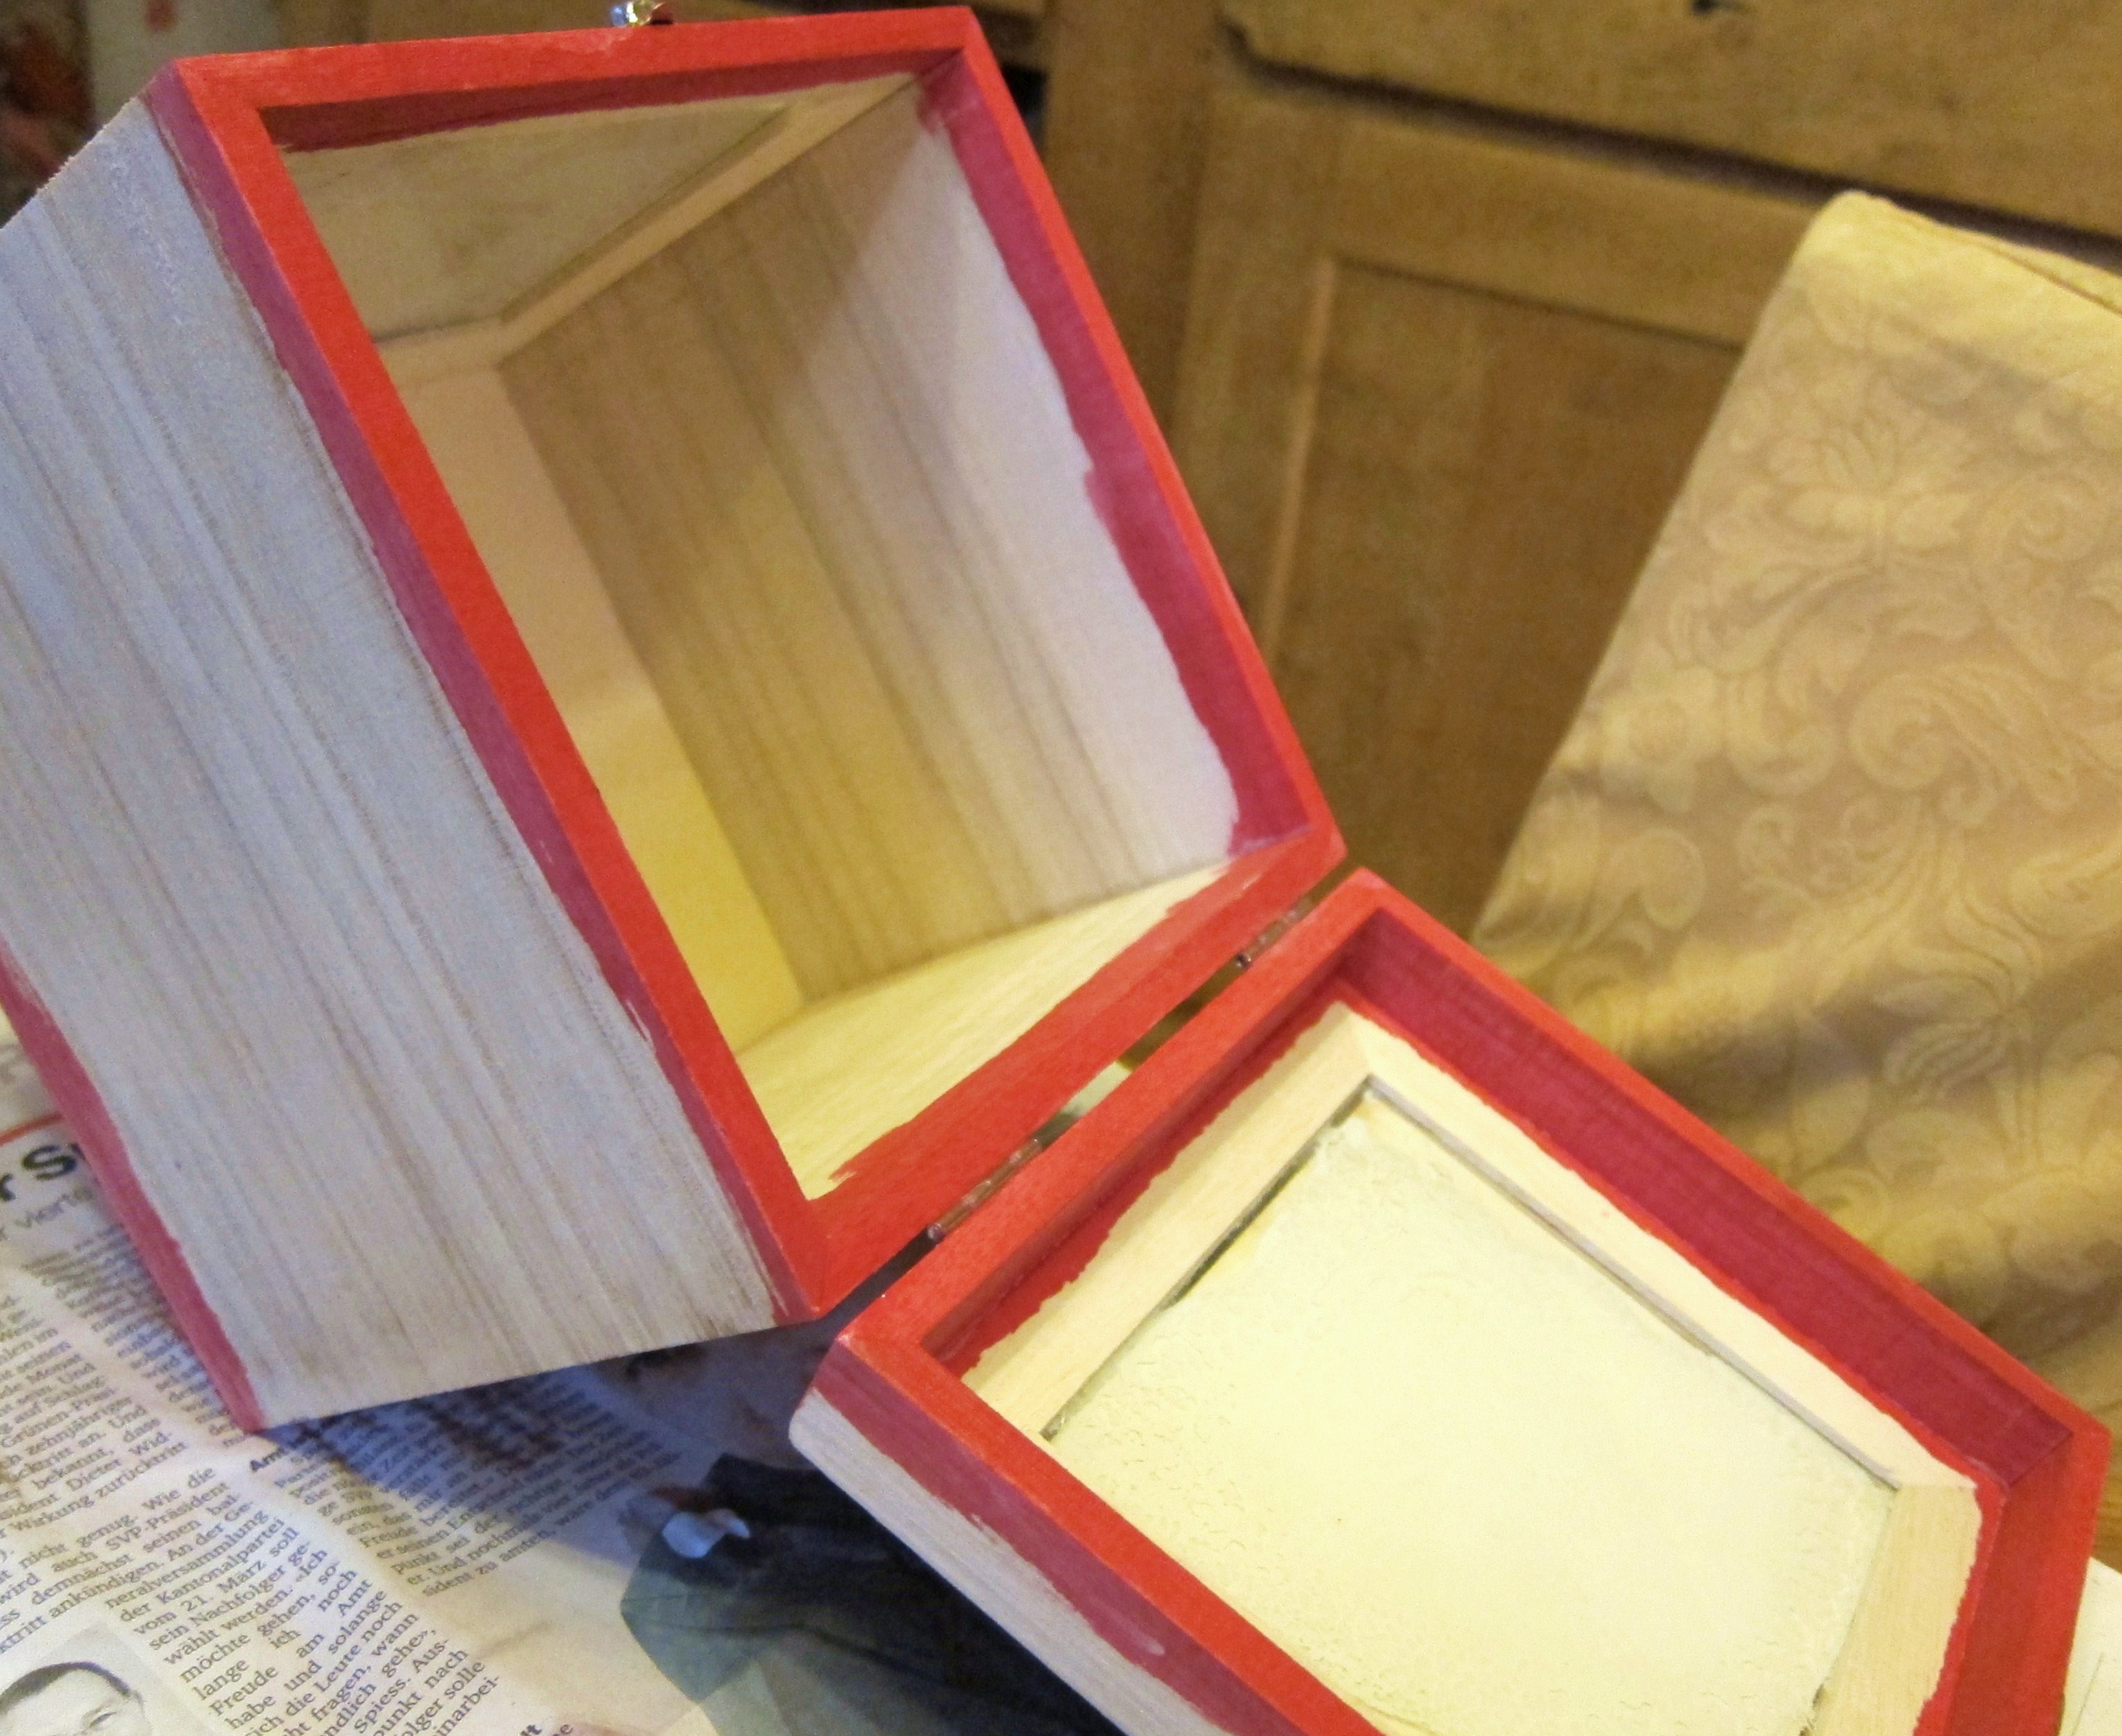
The next step is preparing your base. If the base is porous, like this wooden box, then you will need to seal it. You can do this with paint, sealant or watered down Wellbond, which is what I usually use. And if you're painting the inside of the box, the edges and/or the bottom, then this is the time to do it. If you are mosaicing an unporous surface, such as a stone, a jar or a teapot, you can just skip this step. The box pictured here was lined with velvet right at the end, which is why I only painted the edges.
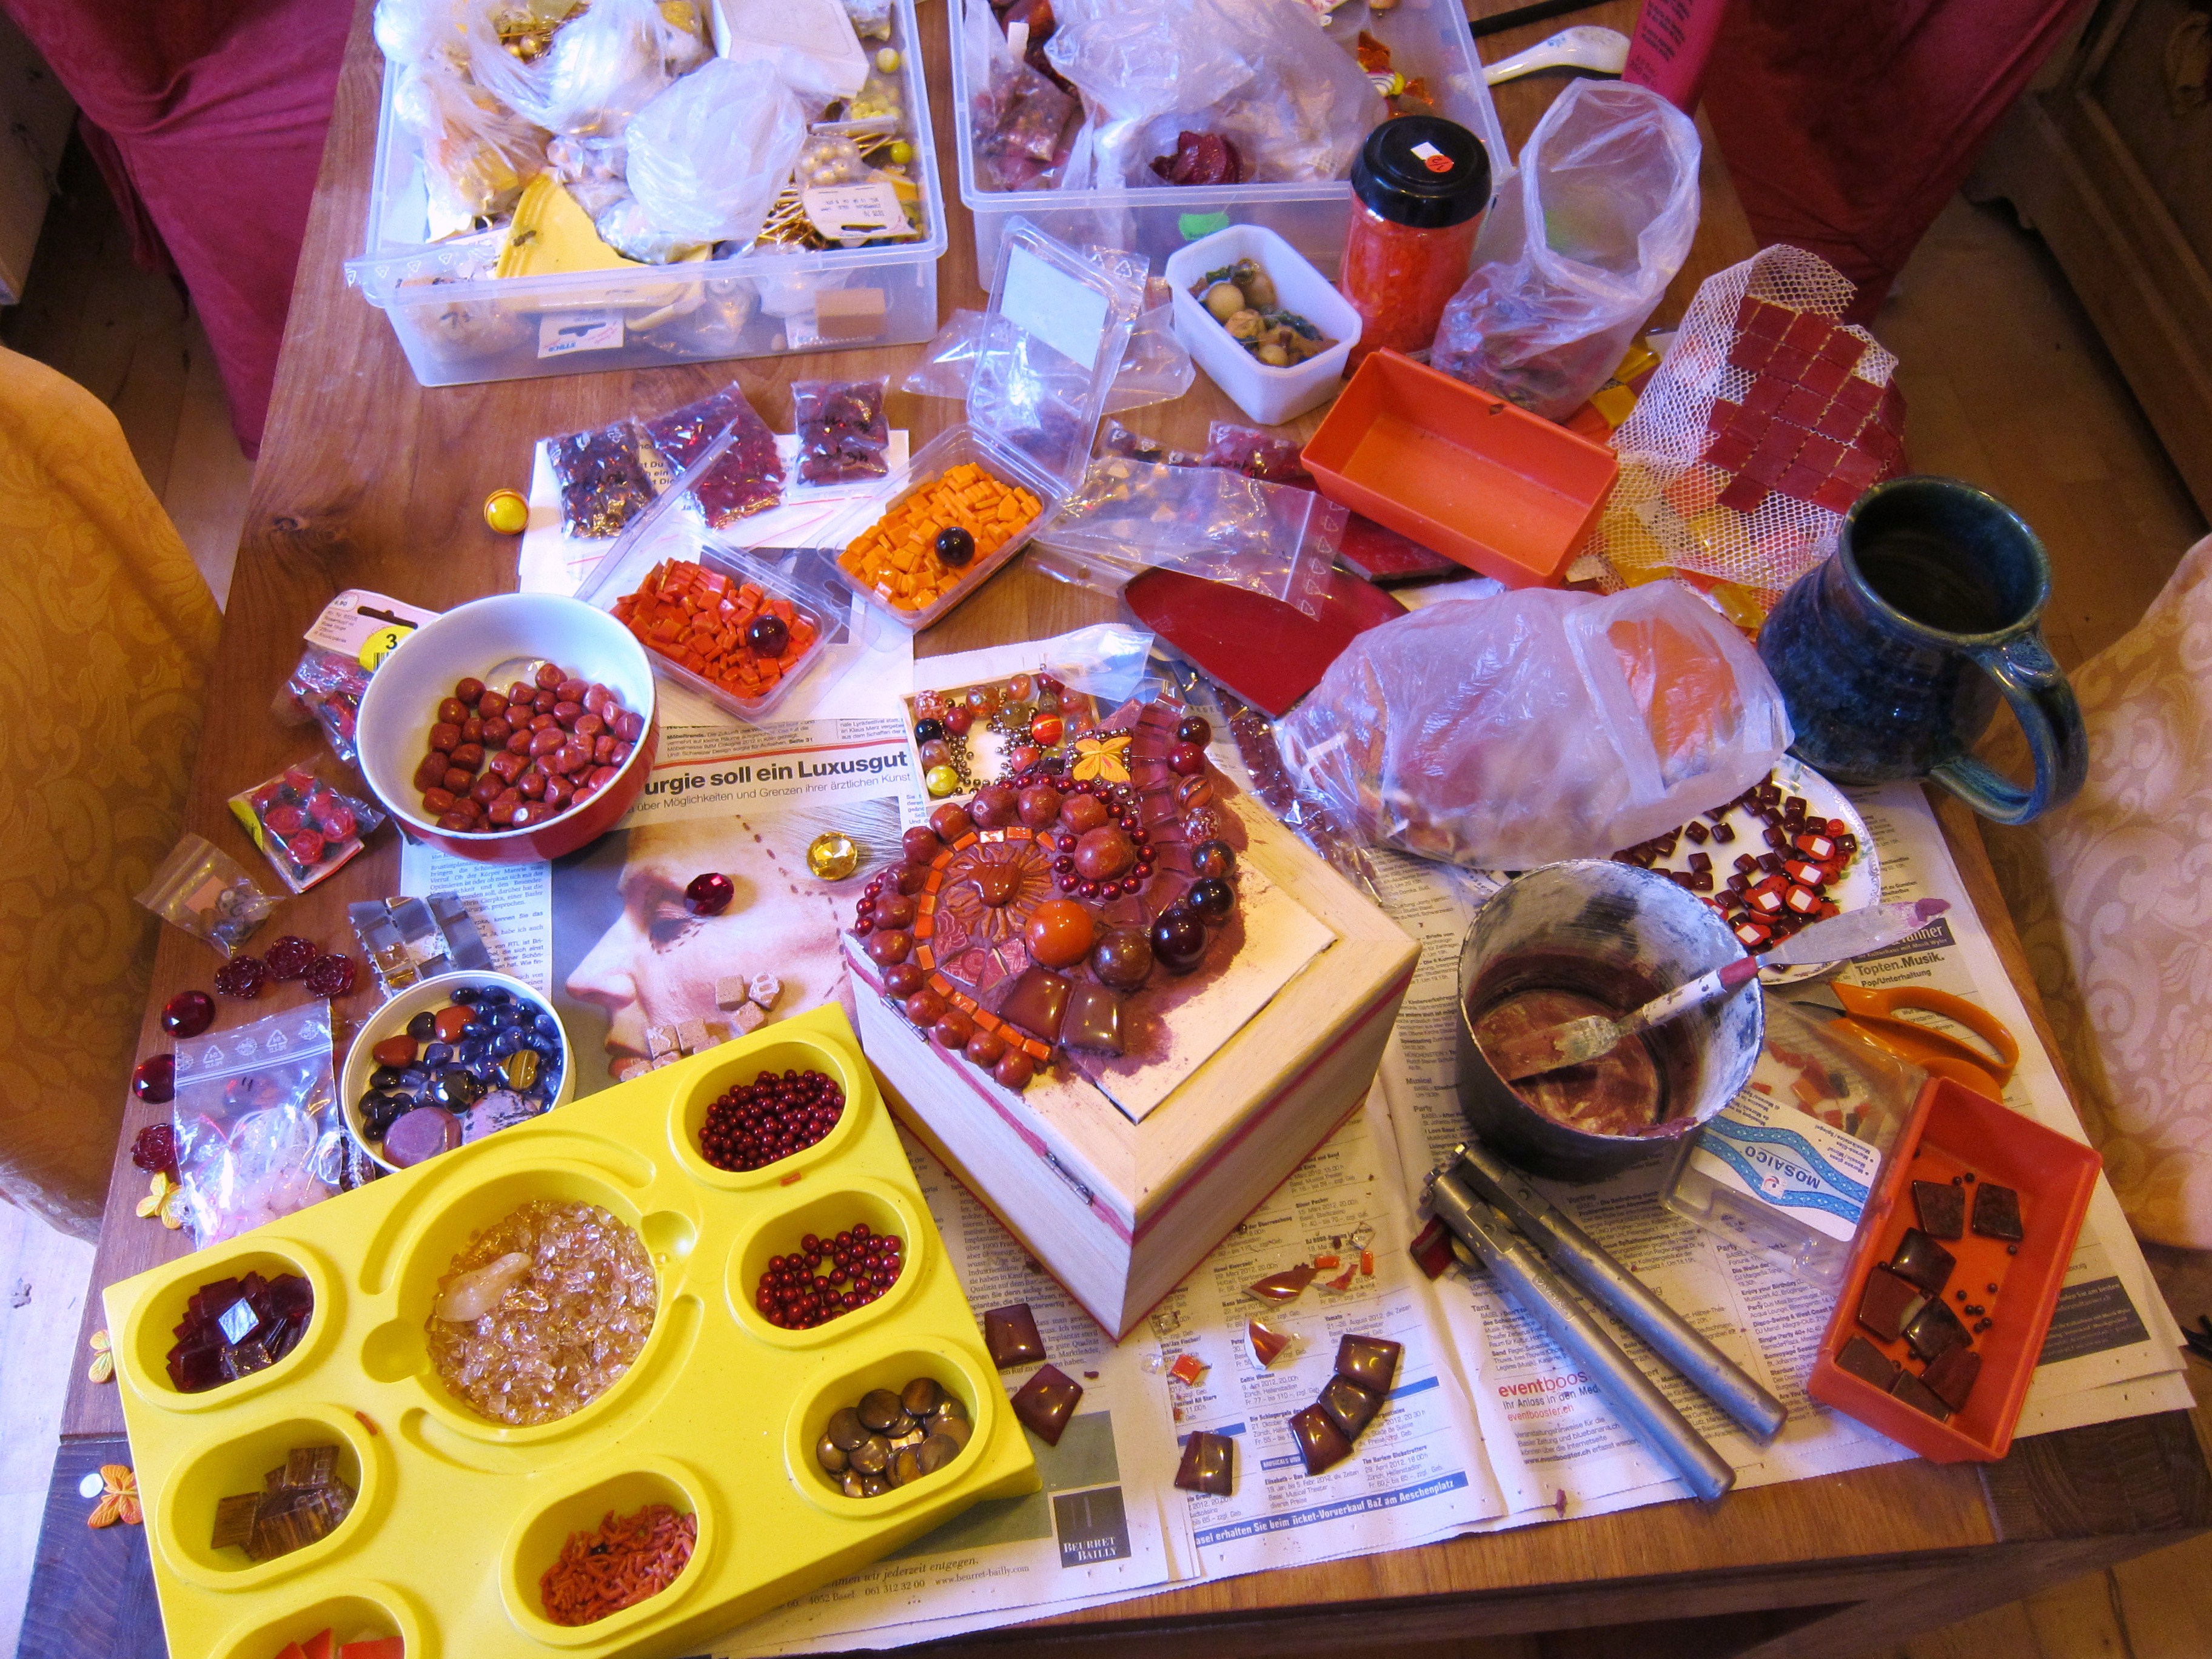
And now you can get to work! Spread out all your collected tess and mix the adhesive. Ah... the adhesive. What do I use? Its a cement-based adhesive which you would use for bathroom tiles. But its a specially strong one, which is made for dificult surfaces, and it has more grab than the regular kind. The brand I use is a German one called "Lugato für schwierige Untergründe", but I am sure they sell similar adhesives all over. I often colour the adhesive by mixing a little bit of acrylic paint in the mixture. Just add the paint with the water and mix to a peanut butter-like consistency. don't mix too much at one go, because once its mixed the adhesive will give you about an hour to work before it starts to set too much.
Take a spatula, spread a layer of the adhesive maybe 1/2 cm thick over a small portion of your base and start pushing tess into it. The art is to keep the adhesive thick enough to have the tess about 1/3 of the way in, but not so thick as to make it squish up and all over the surface. If a piece still feels loose after you' ve placed it, you can remove it, butter a bit more adhesive onto the tess with your spatula and push it back in. And try to keep your fingers clean. It can take a bit of practice... This is often referred to as the push-and-squish method of mosiacing, for obvious reasons.
Depending on how large your project is, it will take several sessions to cover the whole surface. Whenever you break off, remember to scrape the remaining adhesive away at the edge of the mosaiced area so you can continue flush against it next time.
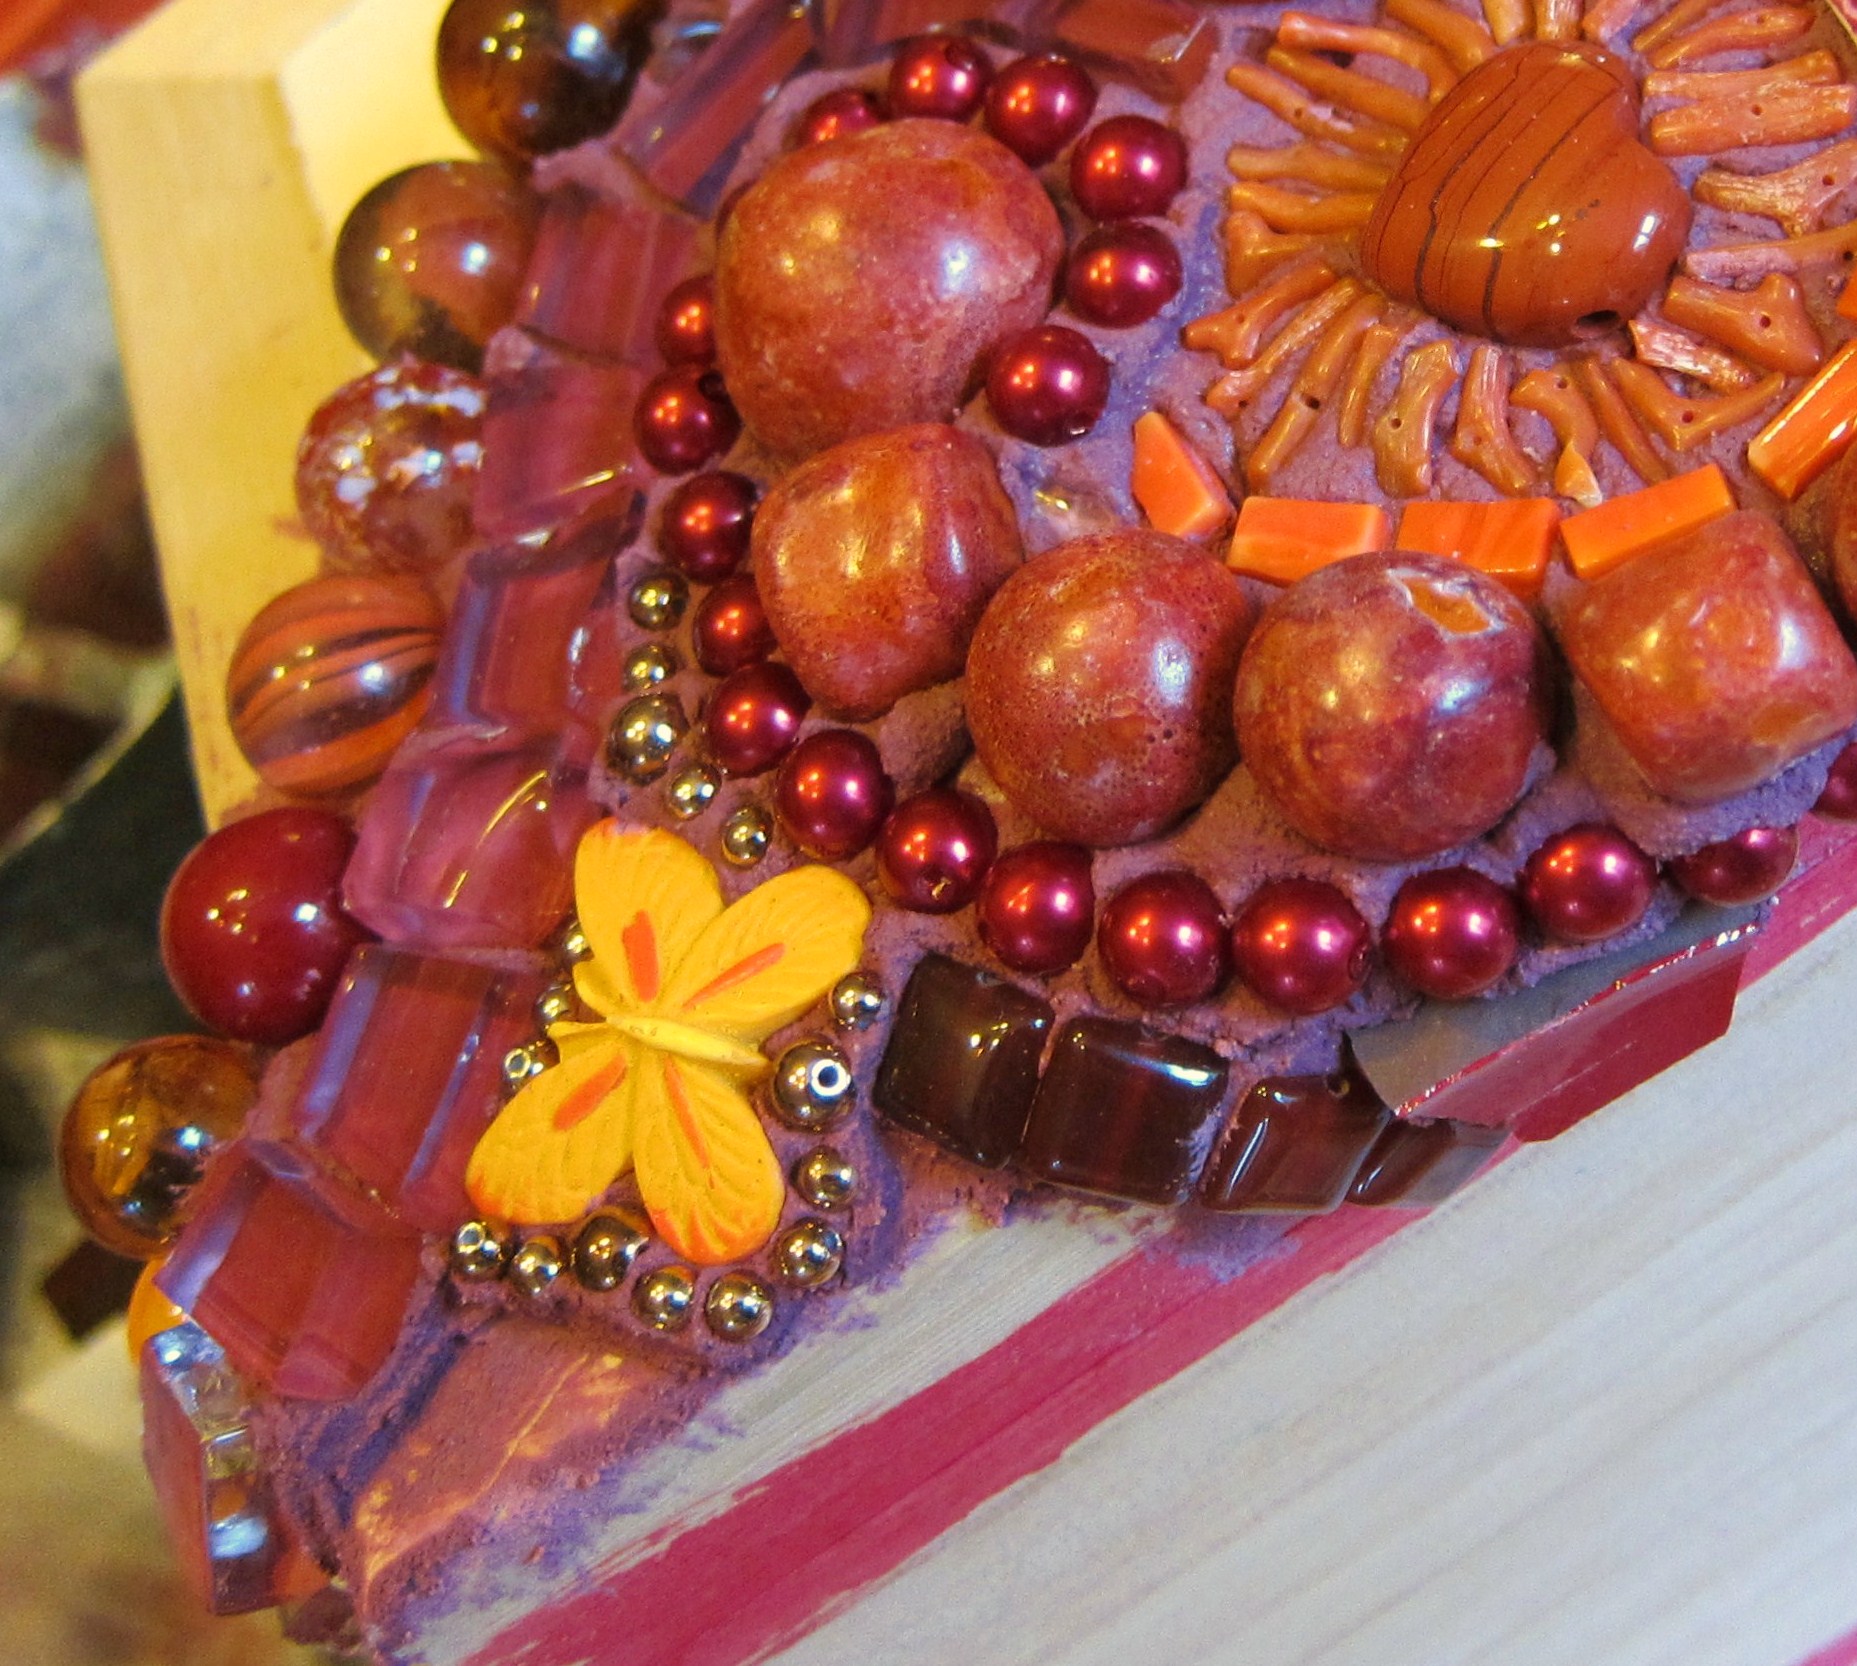
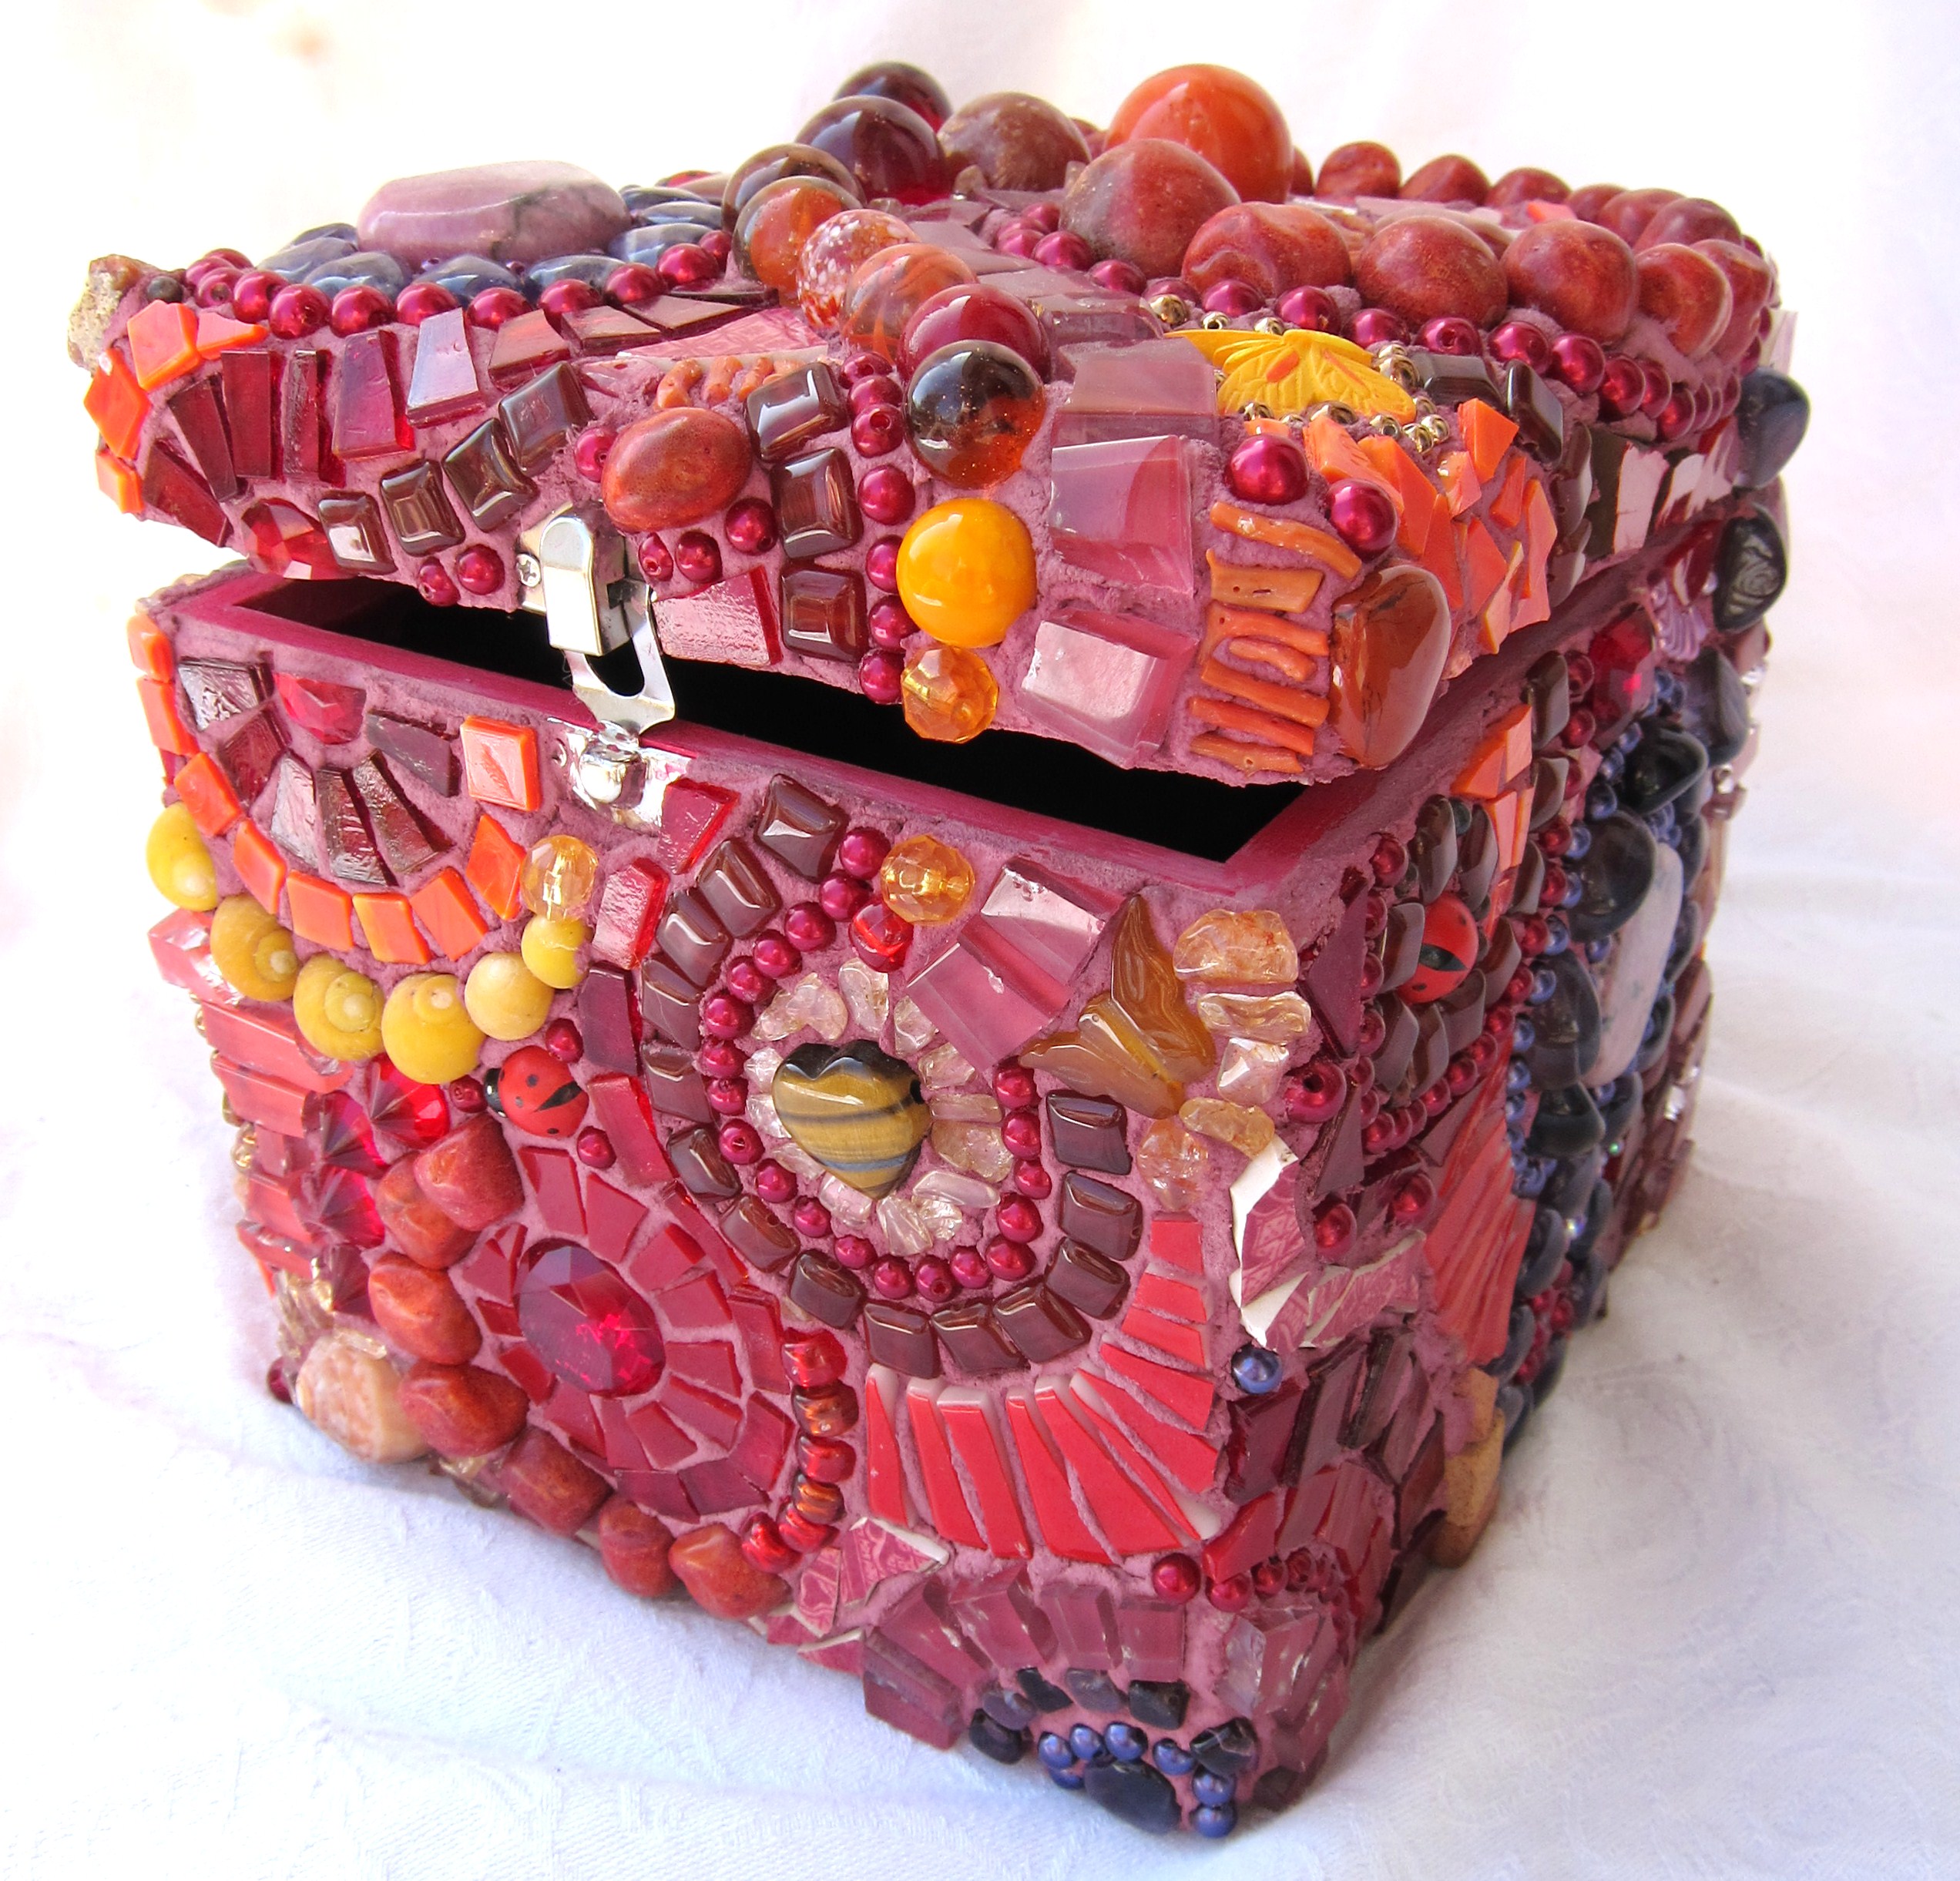
Continue until you have covered the whole surface, carefully leaving out elements such as box closures and hinges, and keep smoothing out the exposed edges as you go. Whenever you mosaic a box, it is always a good idea to check that the lid will still open before the adhesive has set - the hinge areas need flatter tess. Once your mosaic is finished, let it all dry for at least another couple of days before cleaning off the edges with sandpaper, and touching up the paint if necessary. And you're done!
It should be said that on this kind of mosaic you may have the odd bead which works itself loose, but that can very easily be mended with a spot of glue.