Mosaic stones are a great way for trying out new mosaic techniques or as a beginners project to gain experience. The only aspect that can be challenging is mosaicing on a curved surface, so if you intend it as a children's project, choose flat stones and just mosaic the top of them.

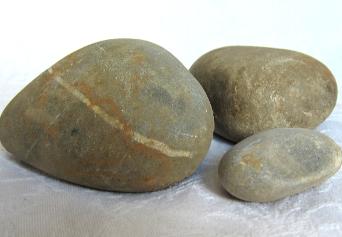
The stones can be any size, but maybe start out with meduim to large stones, because the smaller the surface, the harder it is to mosaic.
When you have collected and chosen your stones, wash and dry them thoroughly.
Next, choose the materials you want to put on your mosaic. You can use whatever you have to hand. This picture shows some possible items (clockwise from center): old china plates, marbles, shards from a broken mug, glass jewels, mosaic tess, various beads, blue glass, an old necklace and bracelet and bathroom tiles. You really don't have to buy lots of expensive mosaic supplies, check out garage sales for chipped china and broken jewelry instead!
A project usually turns out better if you decide on a certain colour scheme before you start. And make sure the materials are age appropriate - small children and glass shards are not a good mix! But you can also make lovely mosaics using pebbles, beads and small tiles that don't need to be cut.

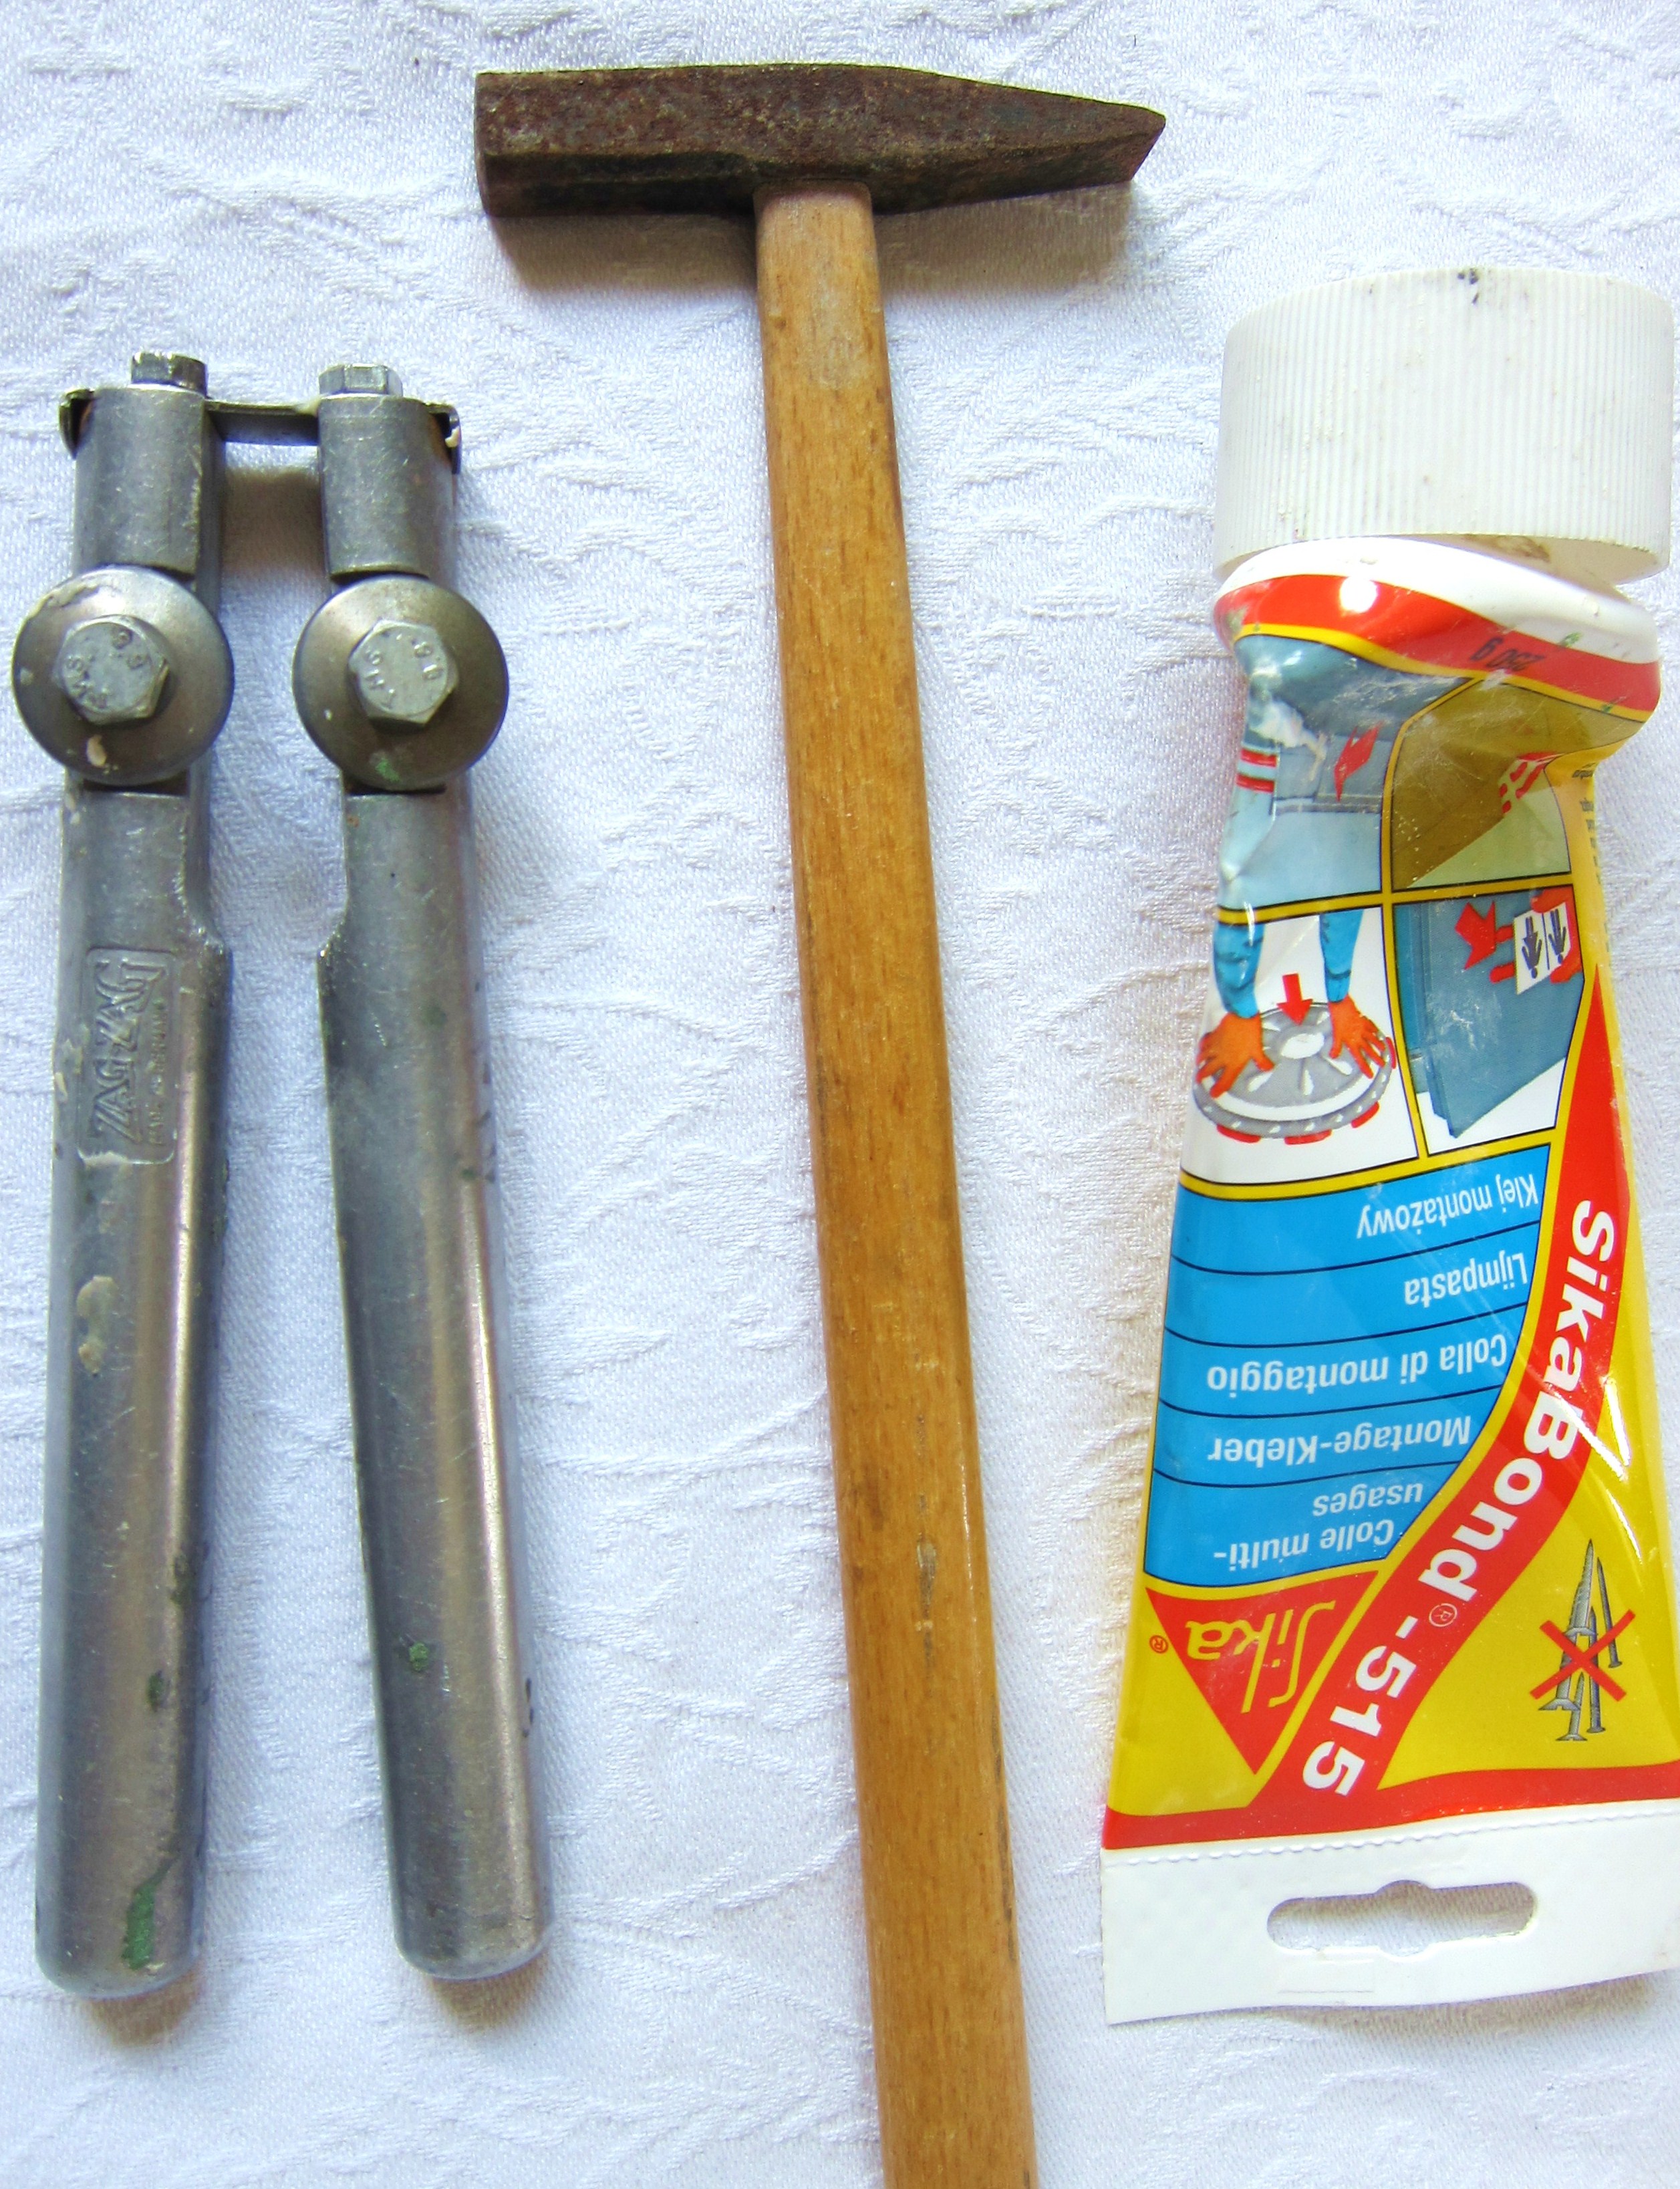
Here is a picture of the tools you will need. From the right:
-
Glue: I use liquid nails - shop around for a brand that doesn't emit too many fumes. Lots of mosaic artists I know use Wellbond. Its harder for me to get hold of here, but it also works very well.
-
Hammer: For breaking crockery. Place the item you want to break inside a cloth bag, then hit it with the hammer. Repeat until the shards are small enough. The bag prevents the shards from flying all over the place.
-
Glass clippers: These are not absolutely necessary, I made my first mosaics just using a hammer. But if you want to start making exact cuts and shape your tess, clippers are a small investment which have large effect. Always wear protective glasses when using glass cutters!
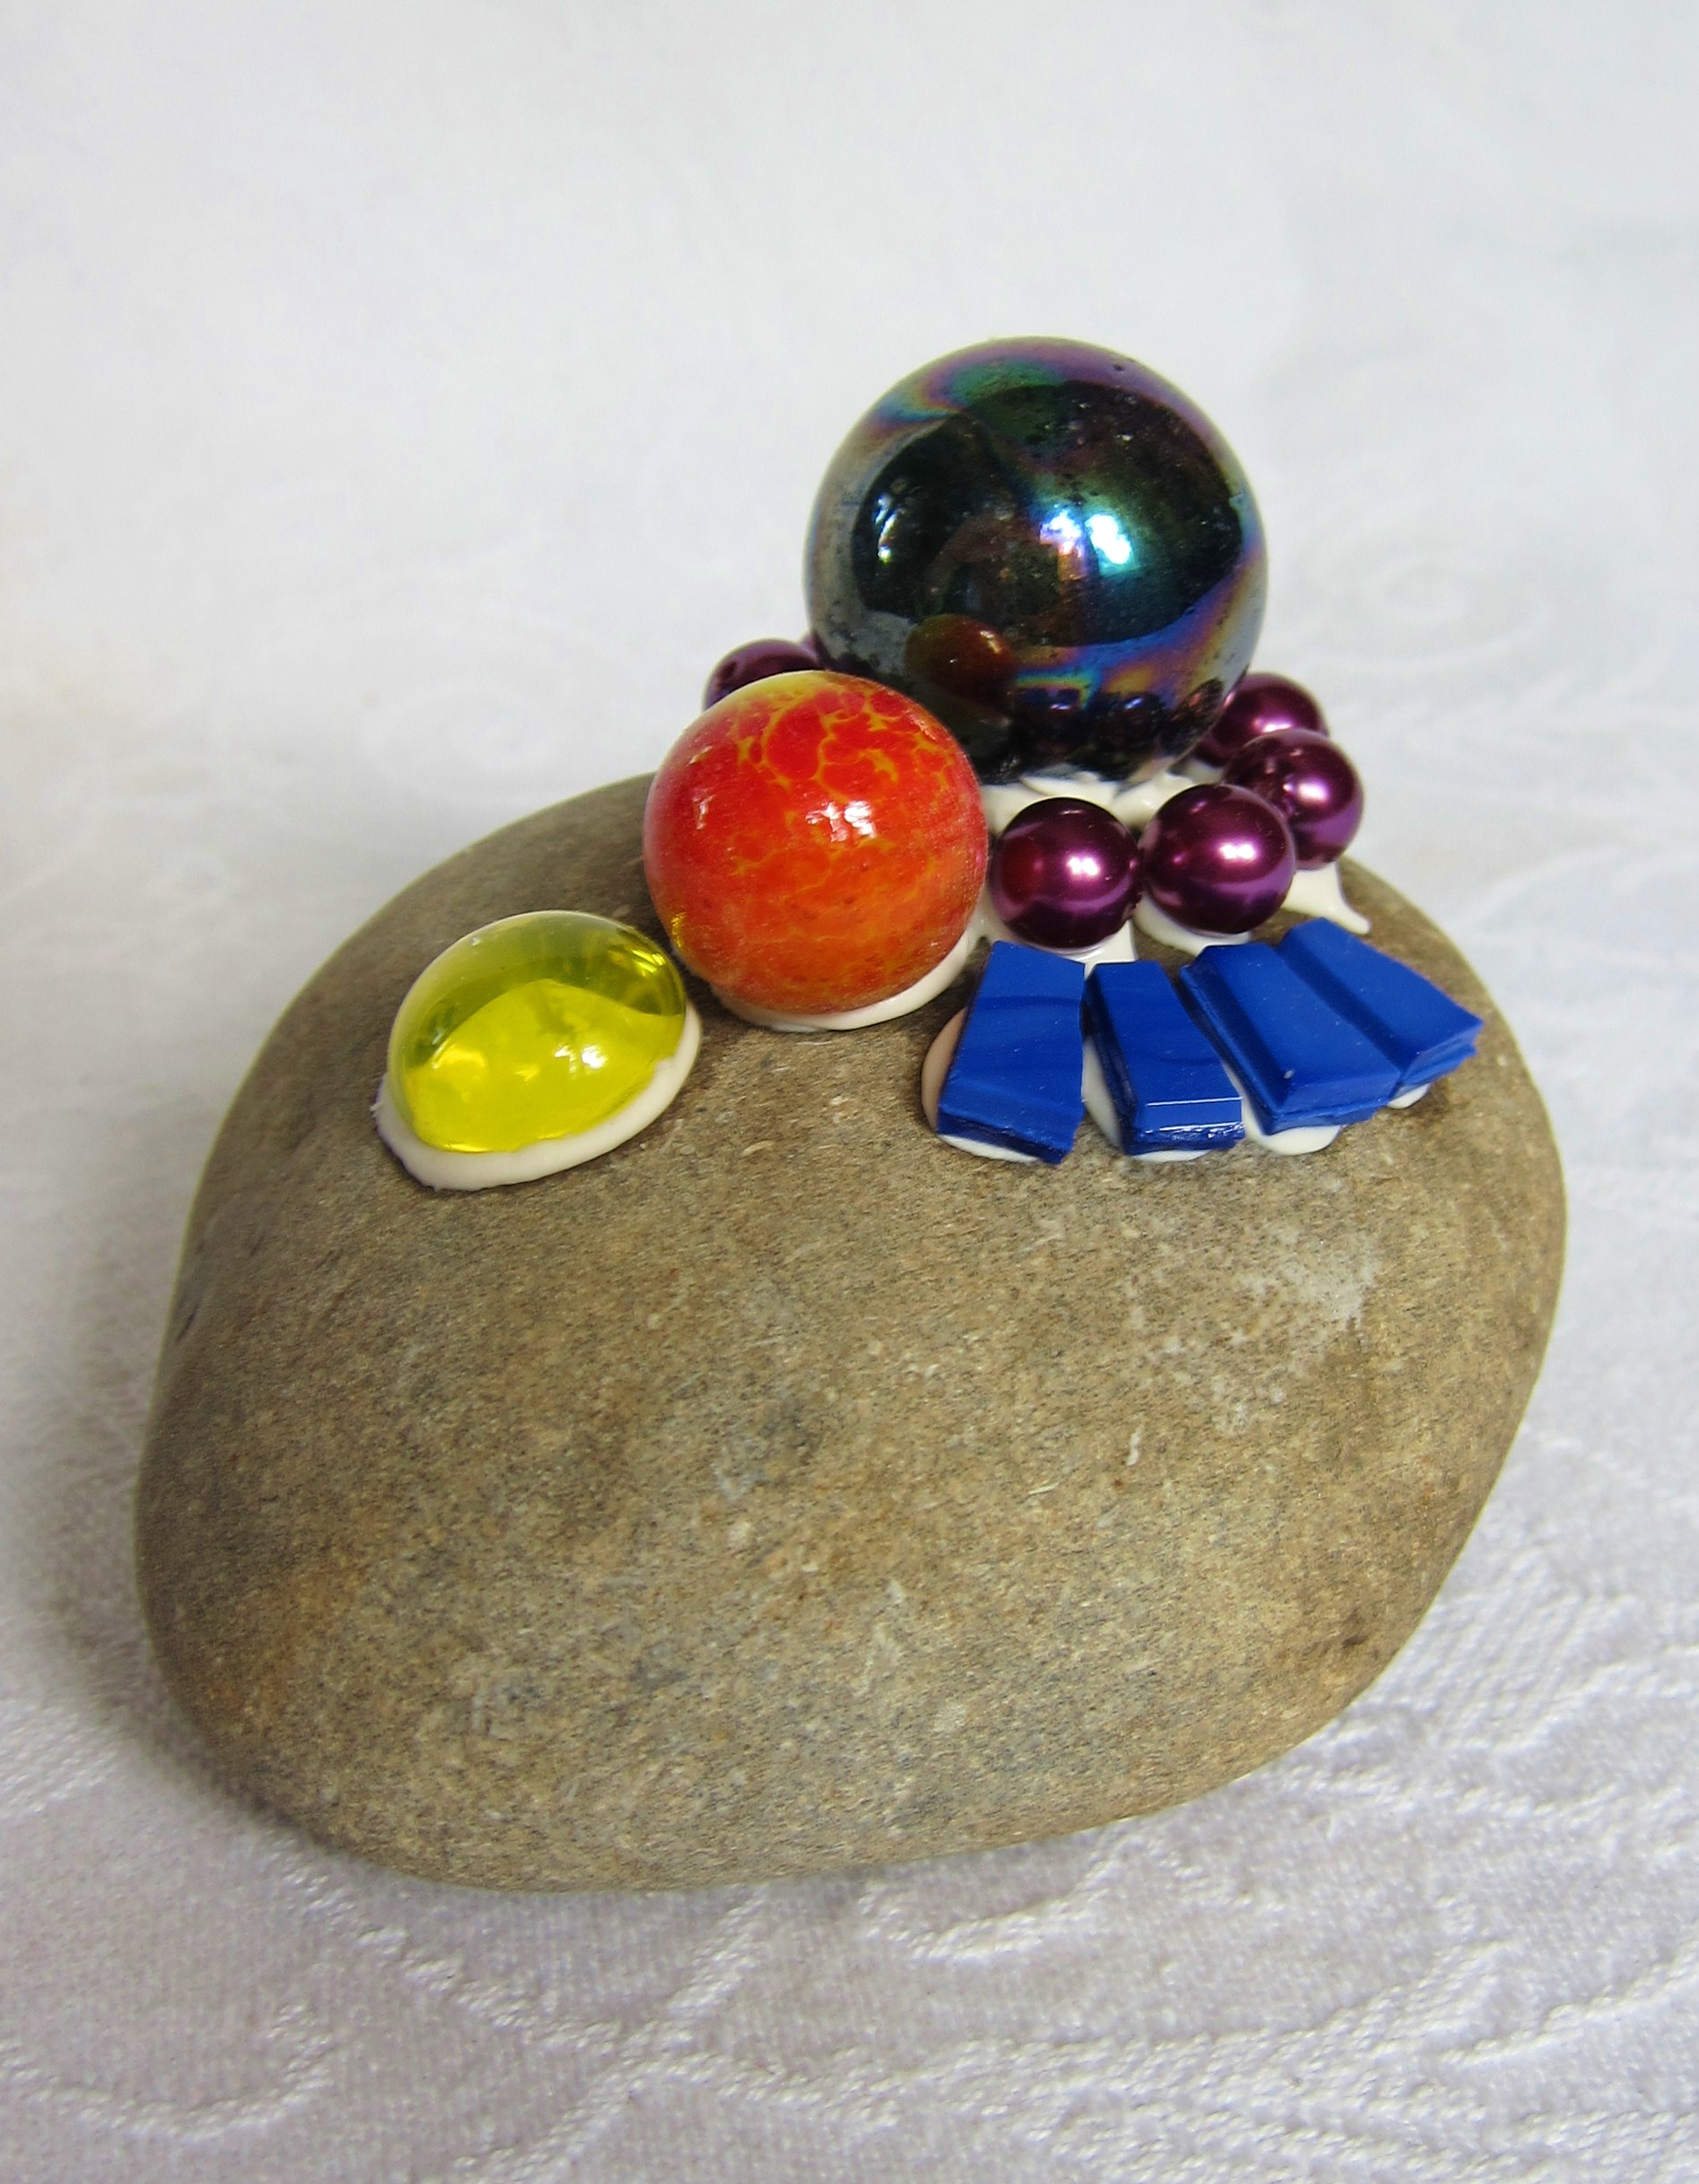
Now you can start glueing bits to your stone. As with the colours, its a good idea to have some kind of concept in mind before you start - geometric shapes, swirls, circles, a rainbow, half white, half black, it can be anything you like. That said, random colours and shapes can also give a great effect. Just experiment, go wild, and see what happens!
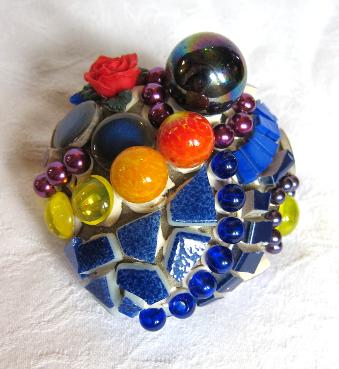
First cover as much as you can of the top of the stone. Stop glueing as soon the sides become too steep and the shards start slipping off. Let the glue dry for a while, then place the stone on its side and contuinue glueing. I place half finished stones on a small cushion, it stops them from rolling around. Sometimes its hard to wait, but if you work on two stones at once, you can glue one while the other is drying and then switch. Continue in this fashion until the whole stone except for the bottom is covered with tess.
Some additional tips for glueing the tess:
-
Always leave a small gap between the tess, somehwere around 1 and 3 mm is about right. If the gaps are too small there won't be enough room for the grout, if they're too big the grout will crack.
-
Beads look great, but they're pretty fiddly. Make sure the holes in the beads are not facing upward.
-
Use good quality beads which will stand being abraded by the grout. Cheaper beads with only a very thin layer of colour can turn dull after grouting.
-
Marbles need a more or less horizontal surface to stick on properly, so put them on the top, not the sides.
-
Most people would probably tell you to put the nicest pieces on top where everyone can see them. Personally I like having some of the most glittery jewels underneath where people can discover them when they pick up the stone...
Now for the dreaded grouting... Its really not so hard! Its not rocket science. I know people get nervous about this, I certainly know I did to begin with, but really, just do it. It will work out ok.
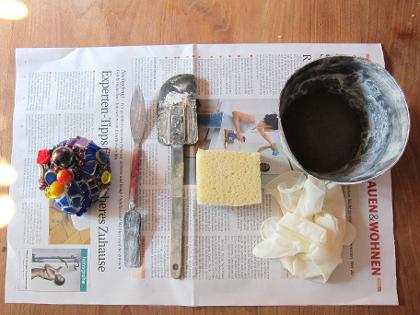
Materials you need (from the left)
- Ungrouted mosaic
- Implement for stiring grout (don't use anything you want to use for food afterwards)
- Dough scraper (ditto)
- Sponge
- Rubber gloves - wear them! Grout is agressive and shouldn't touch your skin! No need to freak out about a little bit, but keeping grout off your fingers as much as possible is a really good idea.
- Grout: get a small packet from the local bathroom supplies department. I already measured it into a rubber bowl here. Getting the right amount is really a matter of luck and experience - just start off with a couple of serving spoons worth of grout for a middle sized stone and be prepared to mix more if necessary.
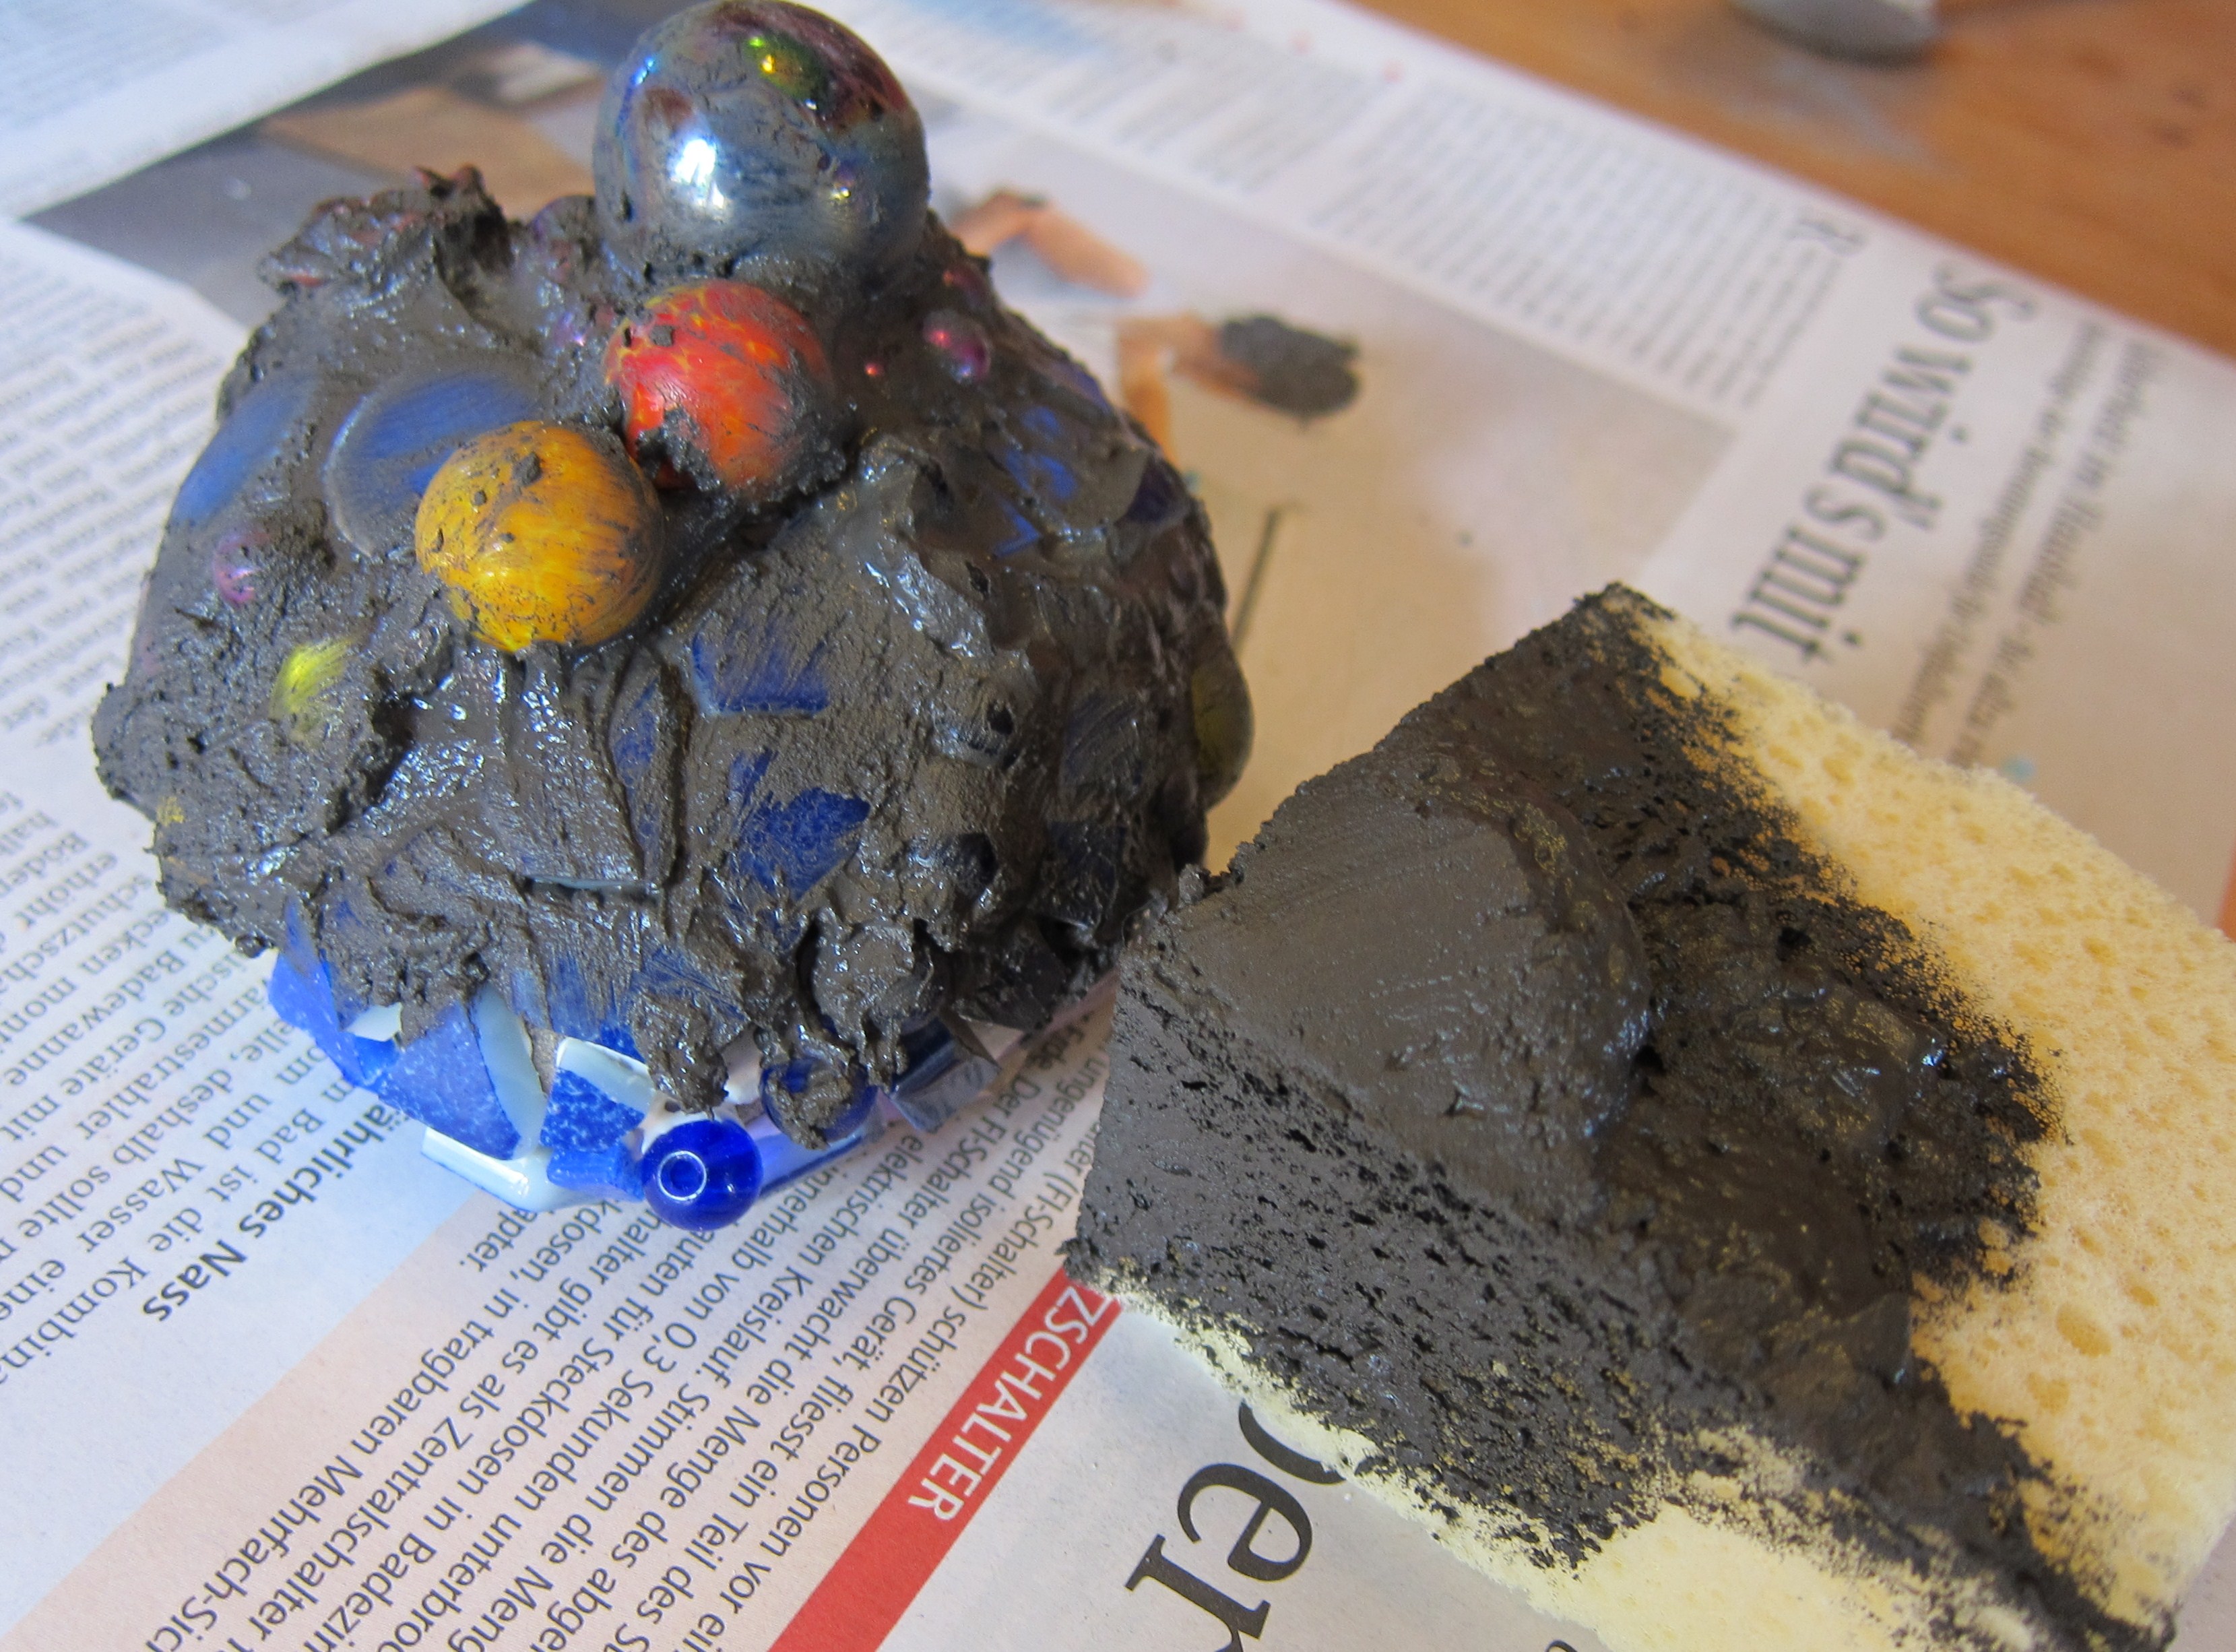
Put on your gloves. Mix the grout by adding small amounts of water until you have a stiff peanut butter-like consistency. You can colour grout at this stage by adding a bit of acrylic paint to the mixture. Pick up a small amount of grout with the corner of your sponge and squish it onto the mosaic. Continue spreading and squishing until the mosaic is covered and you have pushed grout into all of the gaps. Scrape off some of the excess grout with the dough scraper if necessary.
The next step is probably the hardest of all... you need wait. Again. This is to let the grout set before cleaning it off. Don't fiddle with it beforehand! You can tell the grout has started to set when the surfaces go dull, which will probably take around 10 minutes, depending on the ambiant temperature and humidity. But half an hour is also fine, the exact timing really isn't all that important.
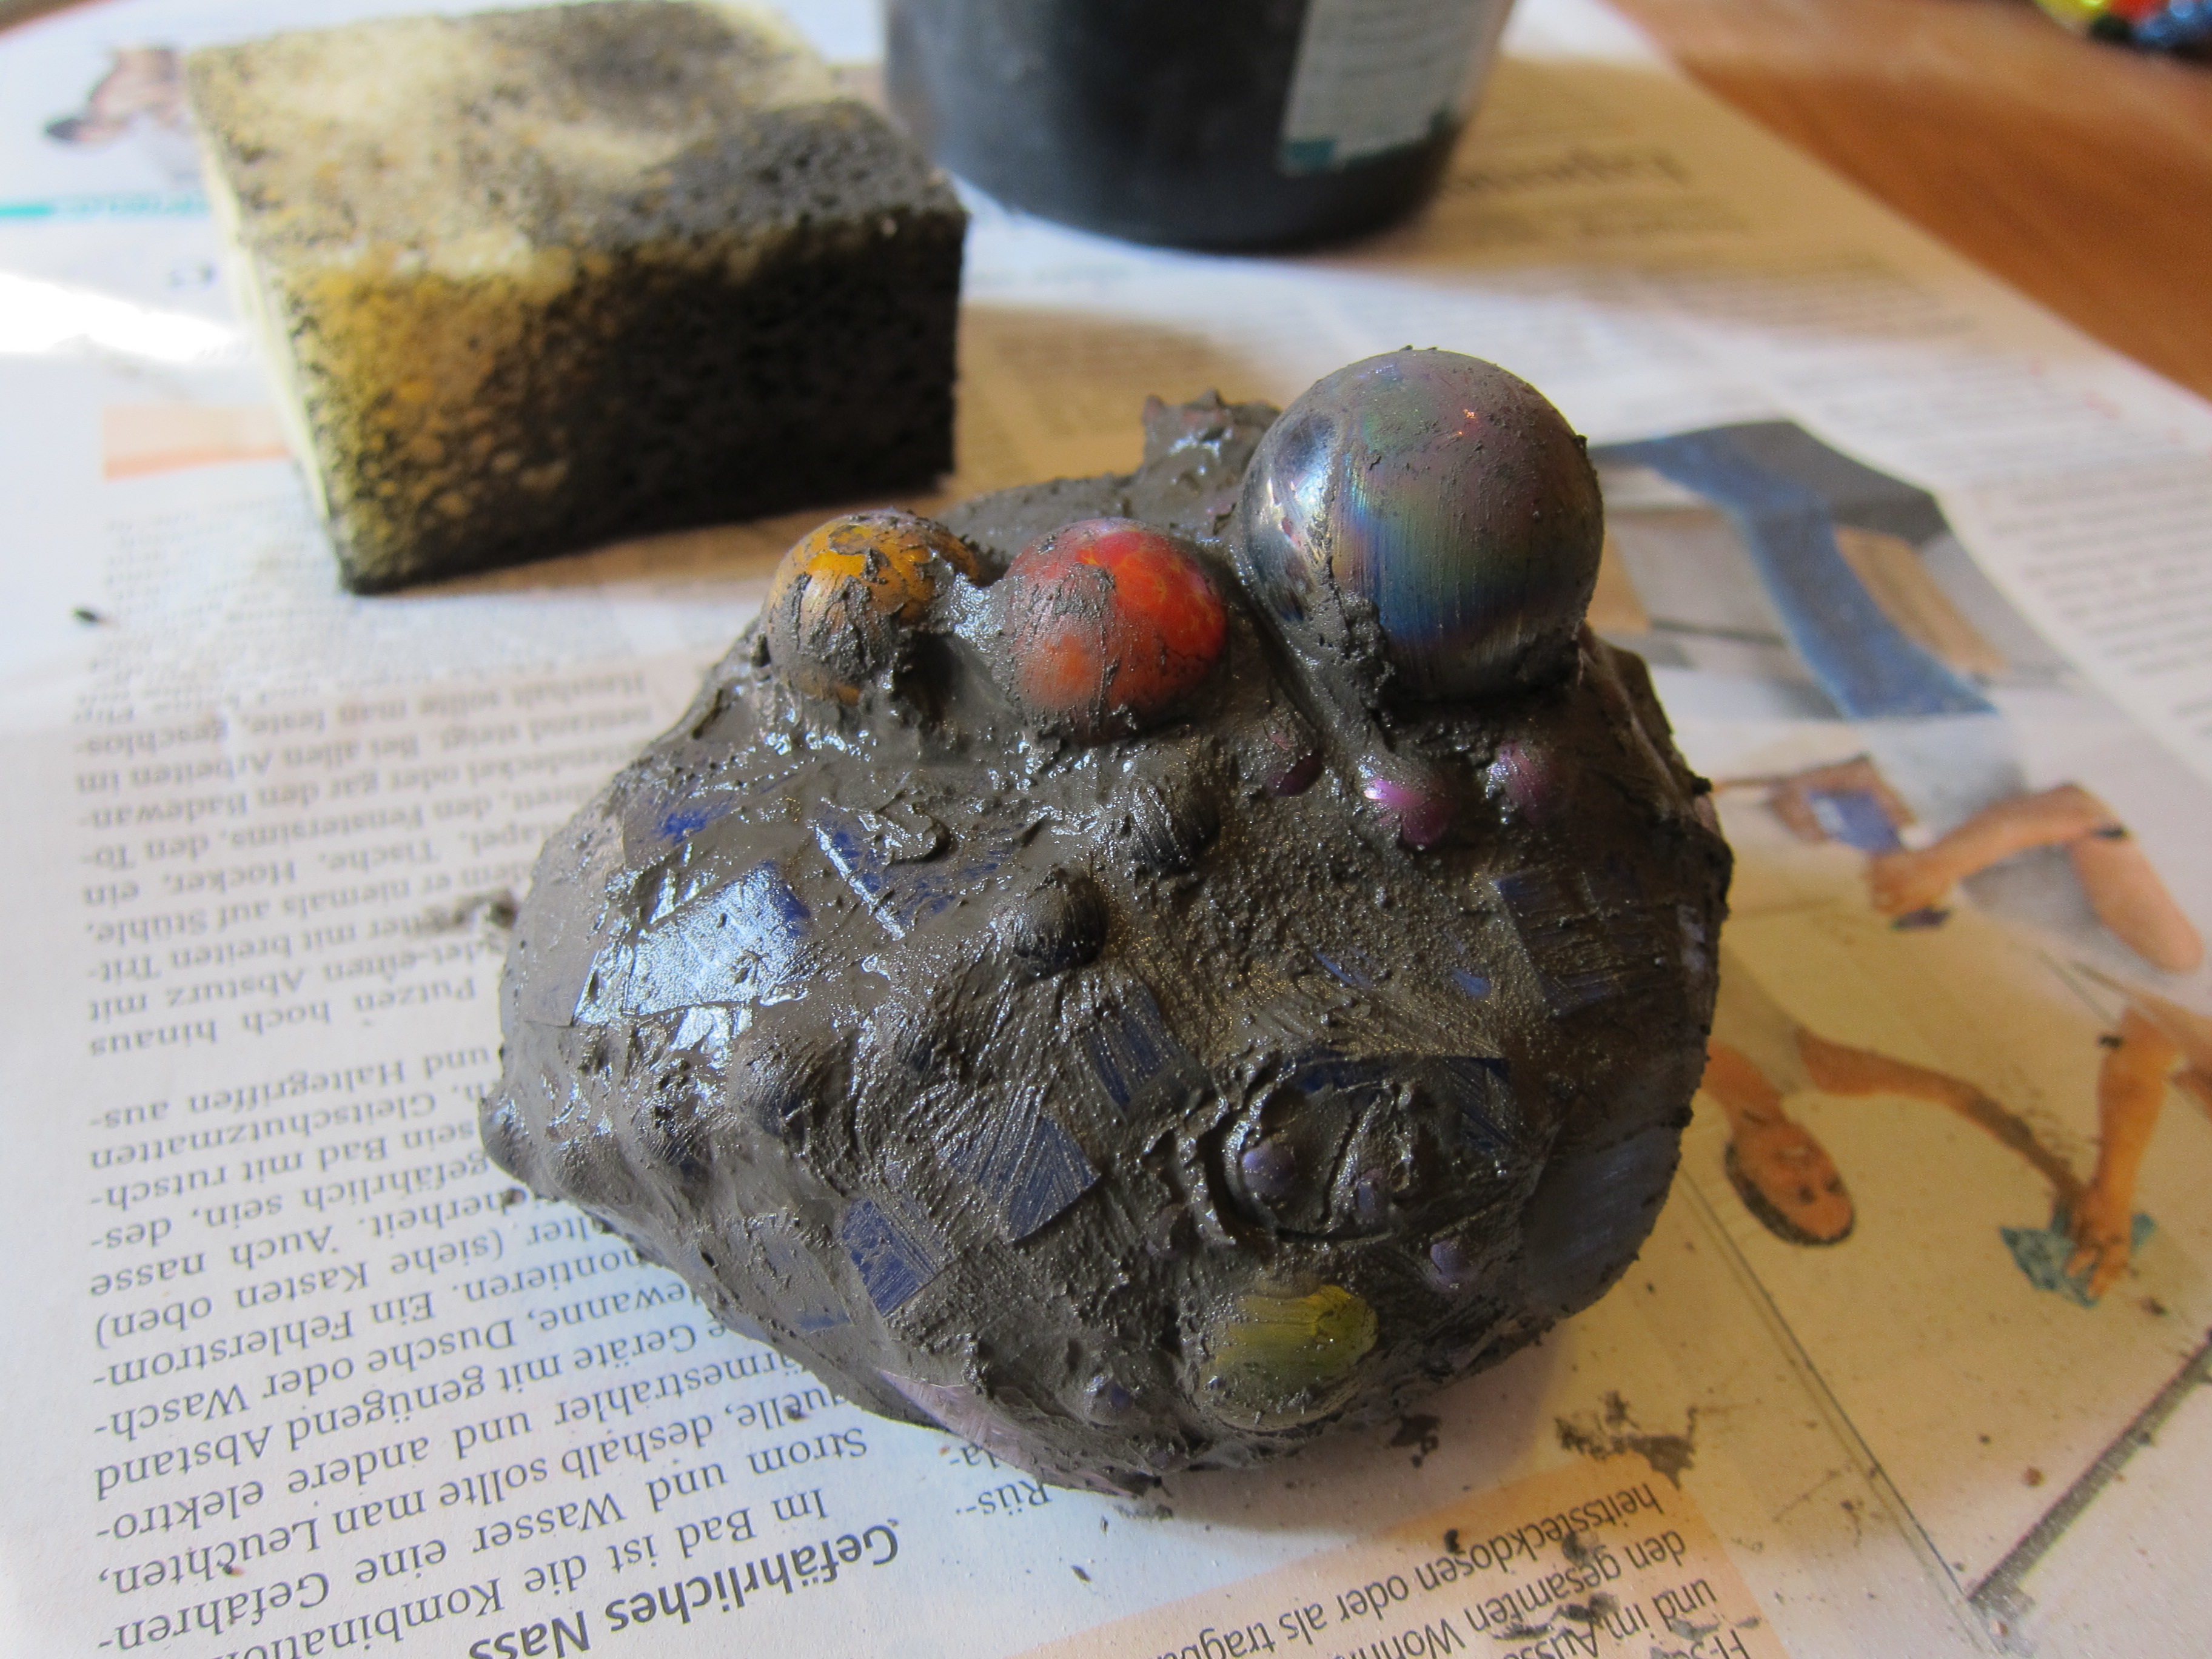
Put your gloves back on. Take a large bowl of water, rinse your sponge in it , press out as much as you can of the excess water and start gently washing the grout off the tess. But make sure you don't remove it from the gaps. Continue rinsing the sponge at regular intervals and wipe the mosaic until its relatively clean all over. It doesn't have to be perfect at this stage. Then let it sit and dry for about half an hour or an hour.
While you're waiting, scrape out your grout container, wrap any excess grout in an old newspaper and dispose of it.
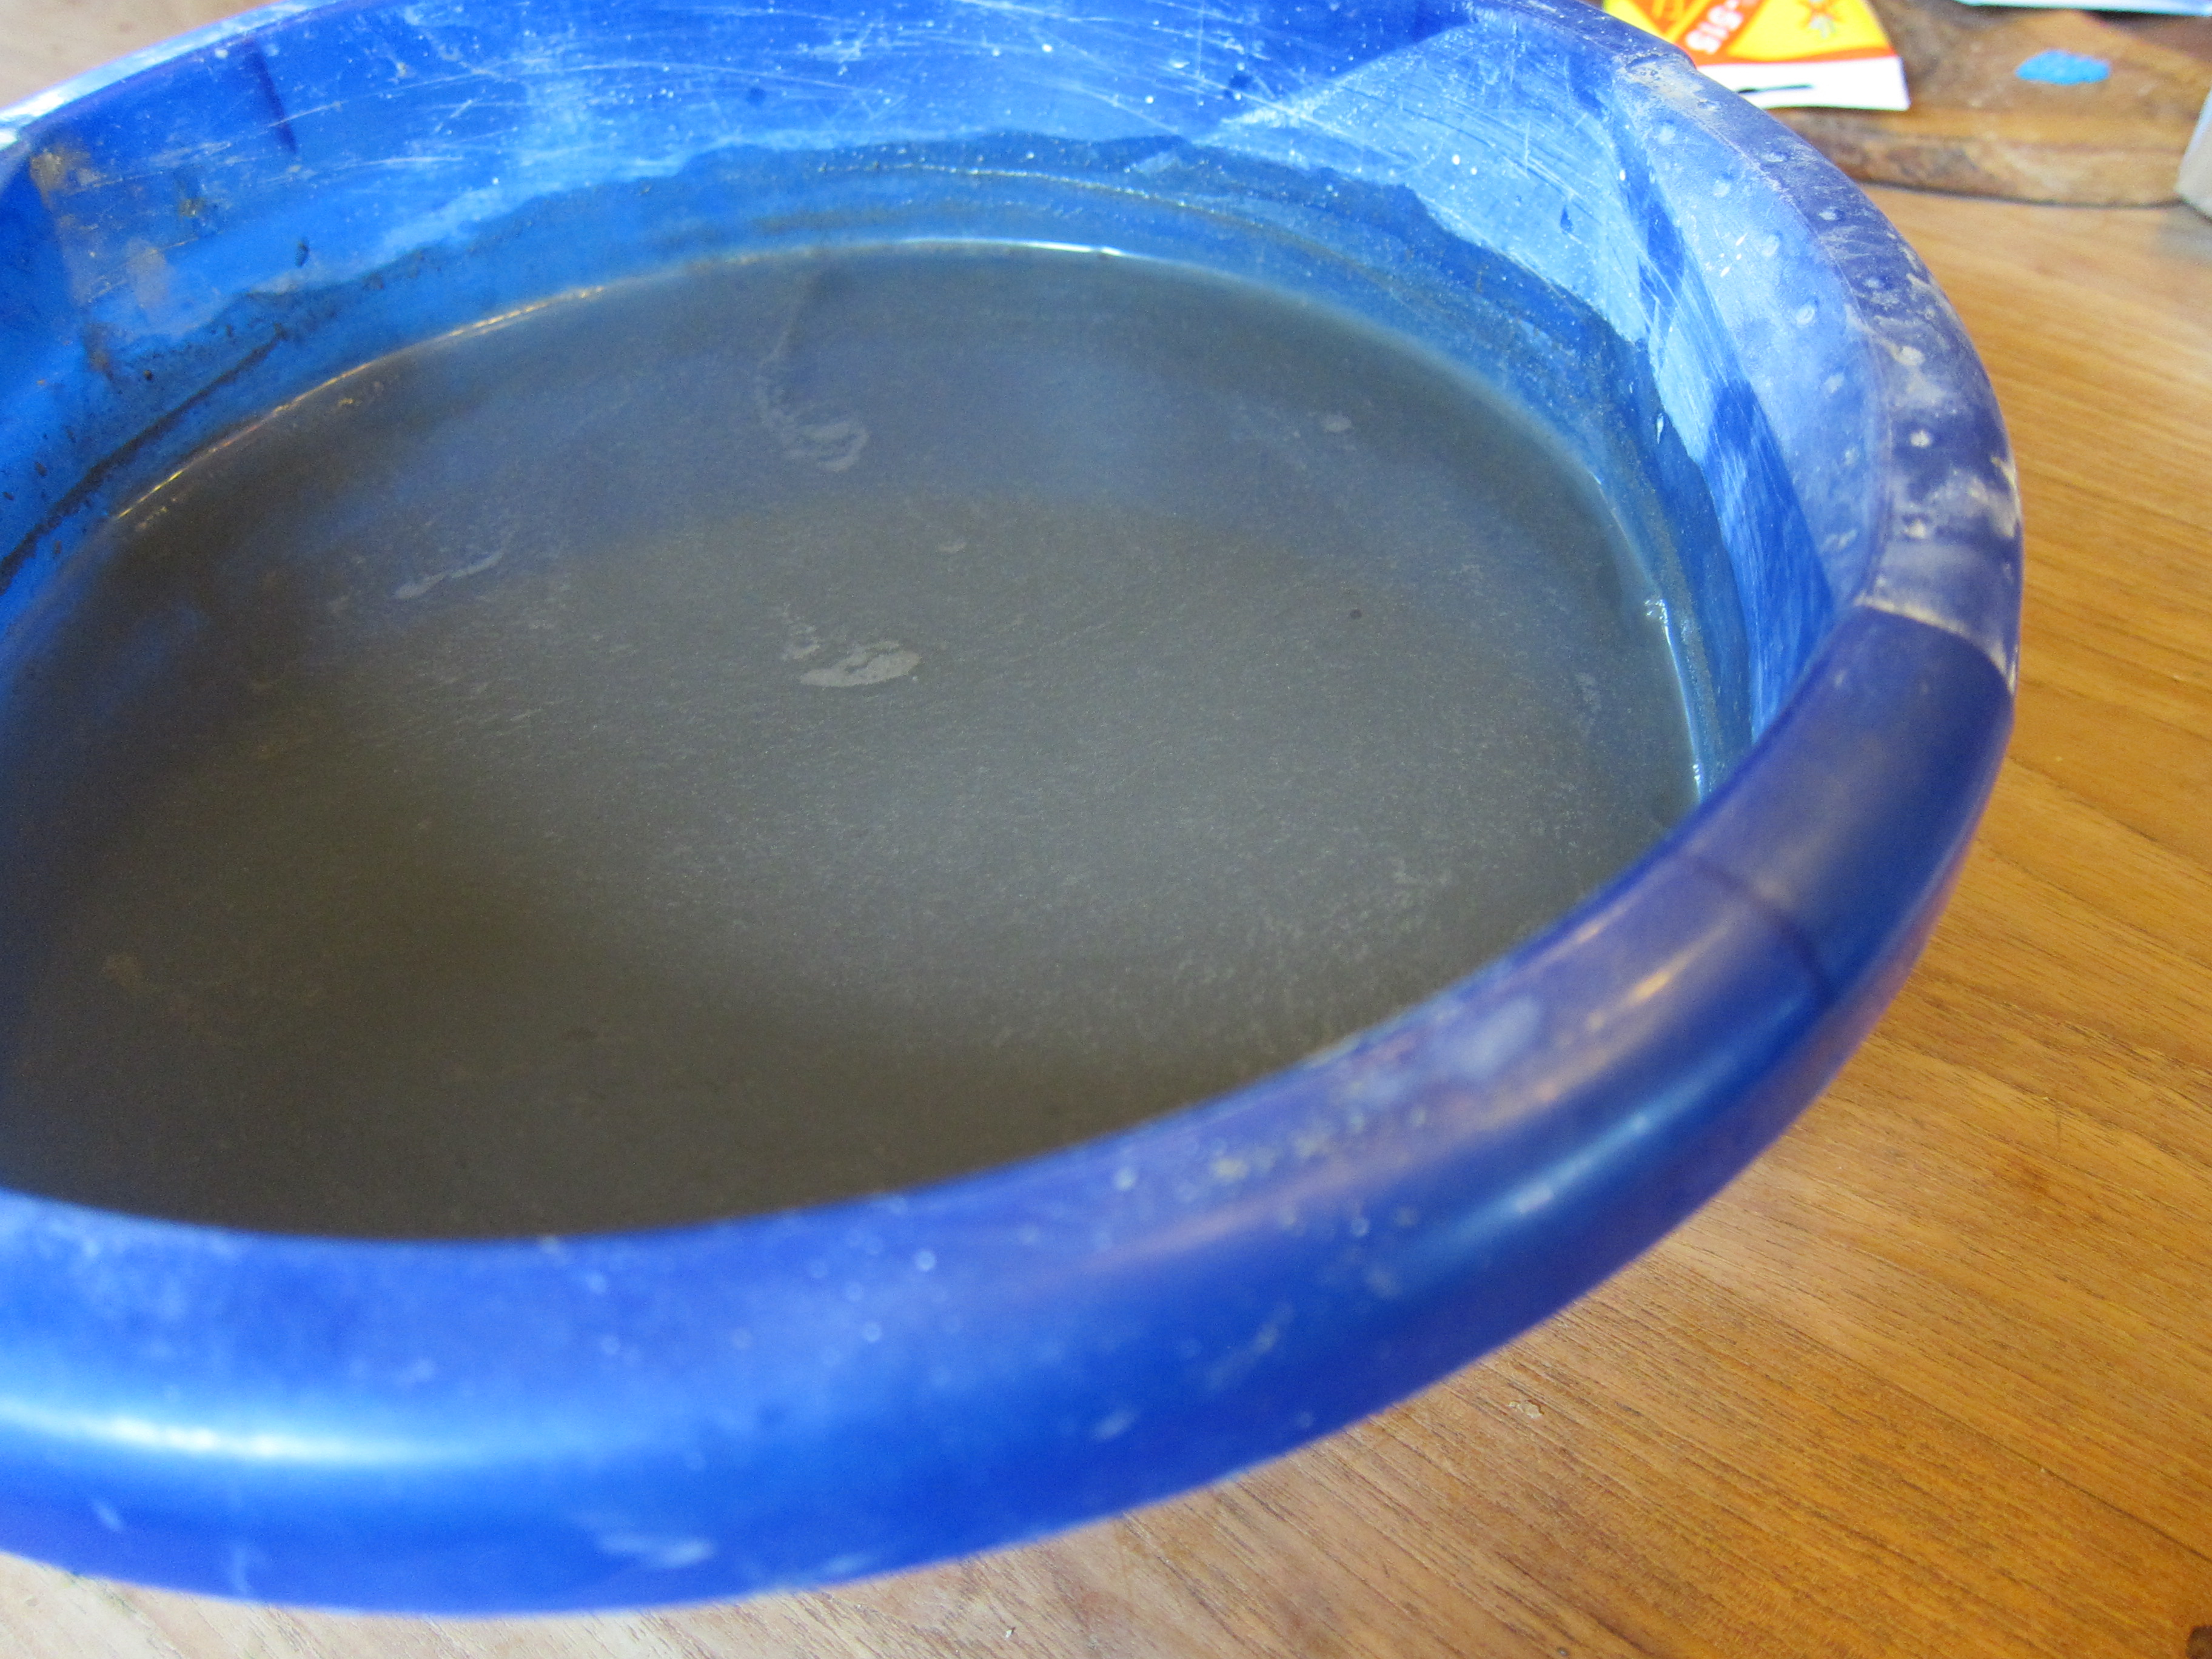
This very boring picture is to remind you to NEVER pour the dirty water down the drain! Anything cement based, like grout, will build up over time and block it up completely! Just let the water sit overnight, pour off the clear water above and wipe out the remaining sludge with old newspapers.
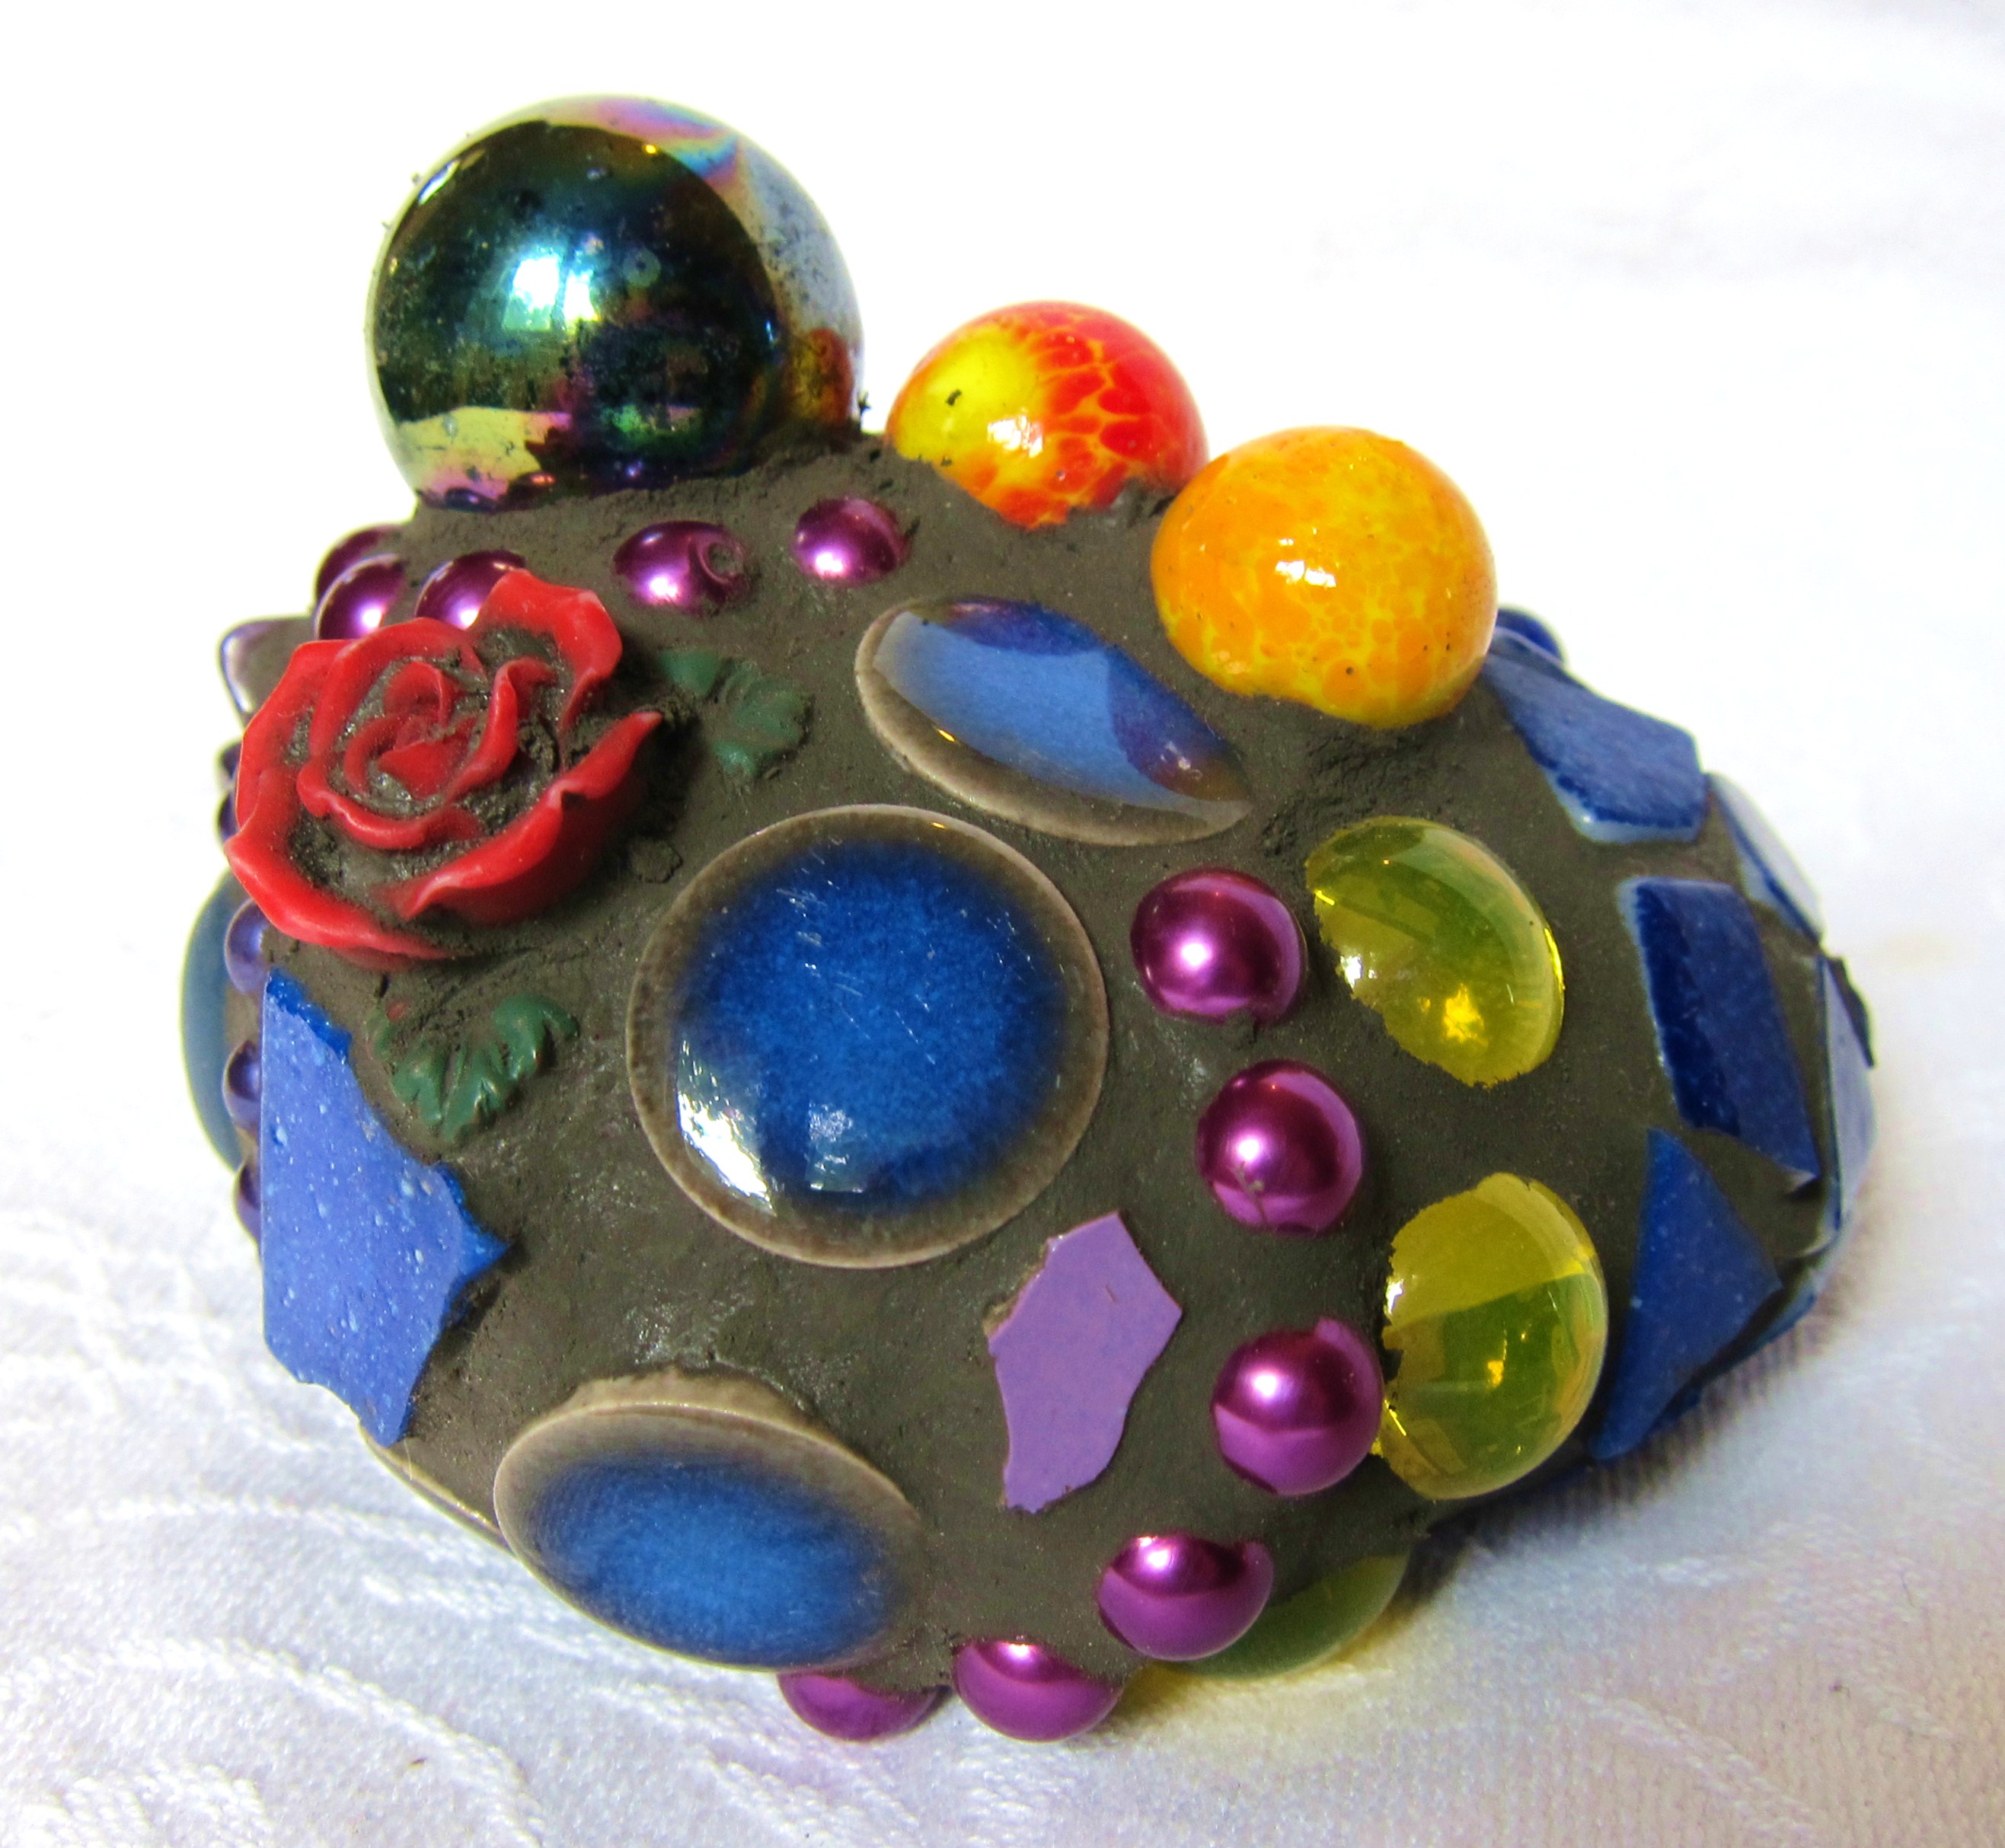
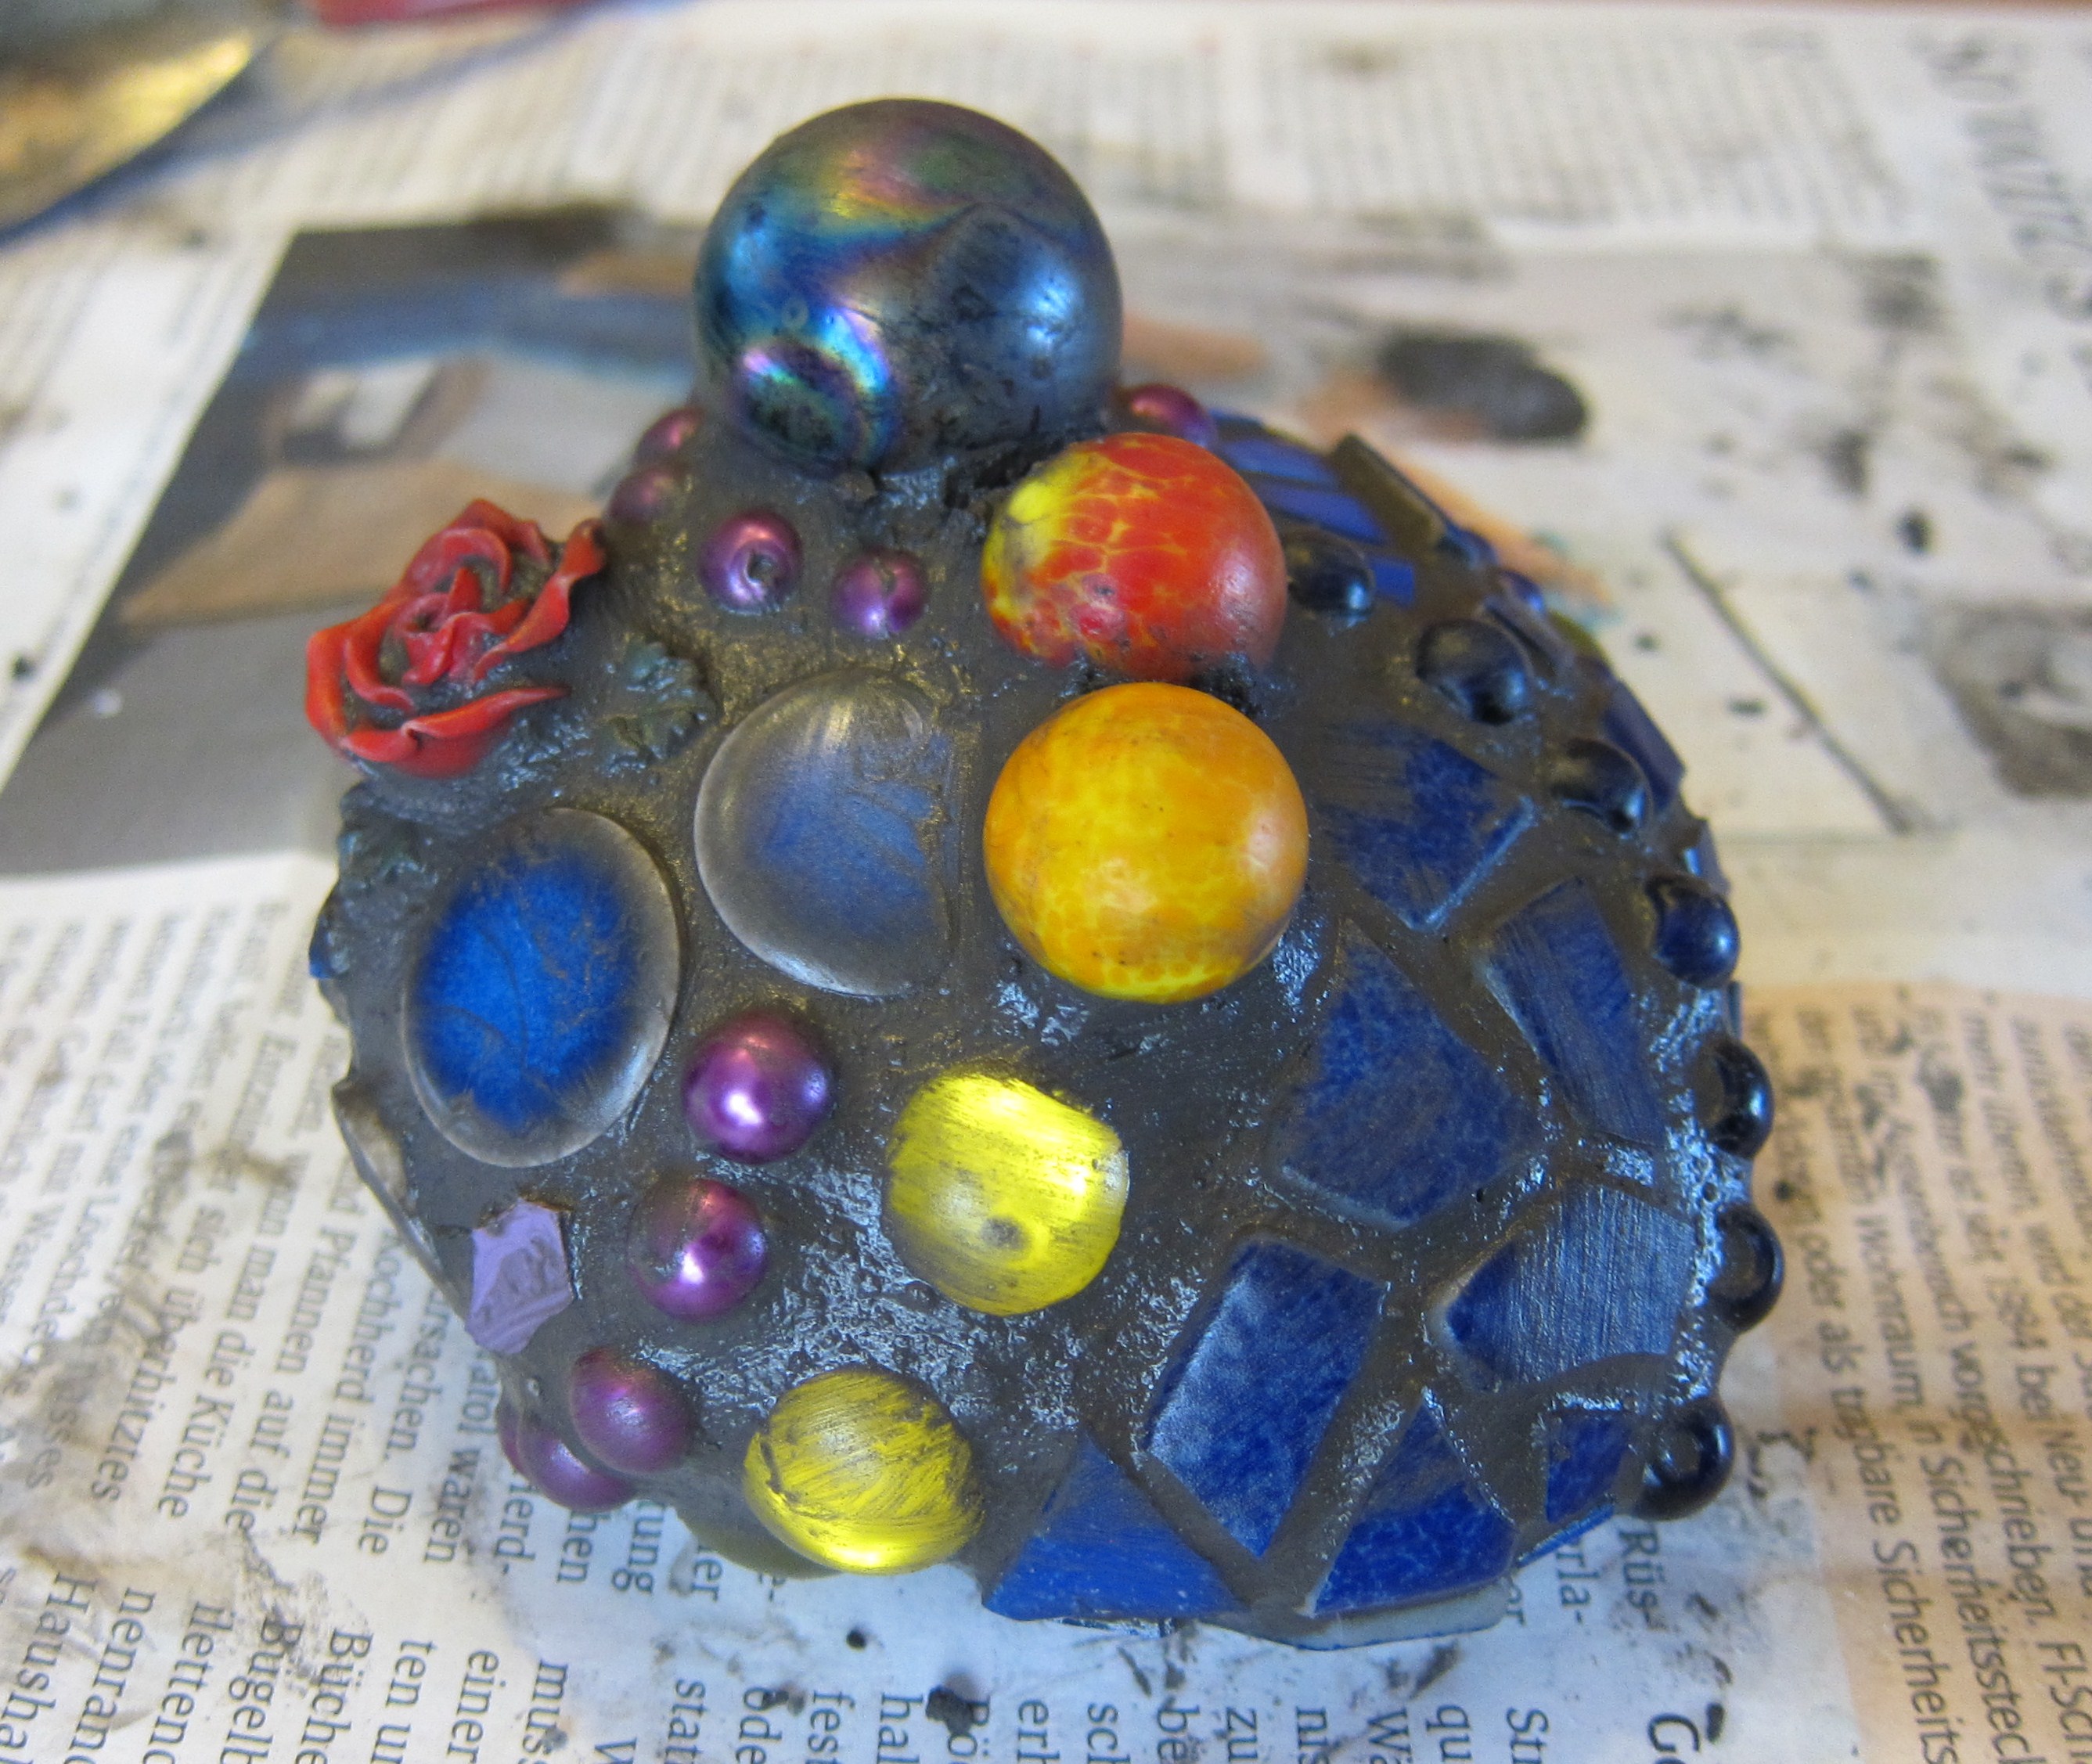
After waiting at least half an hour, you can start to polish your mosaic stone with a soft cloth. Gently rub each tess until it shines. Polish again one hour later and then give it a final shine the next day. And although the grout does still need a couple of days to reach its full hardness... I think you can now call your mosaic stone finished!